How to Make a Playing Card Box at Home Easily?
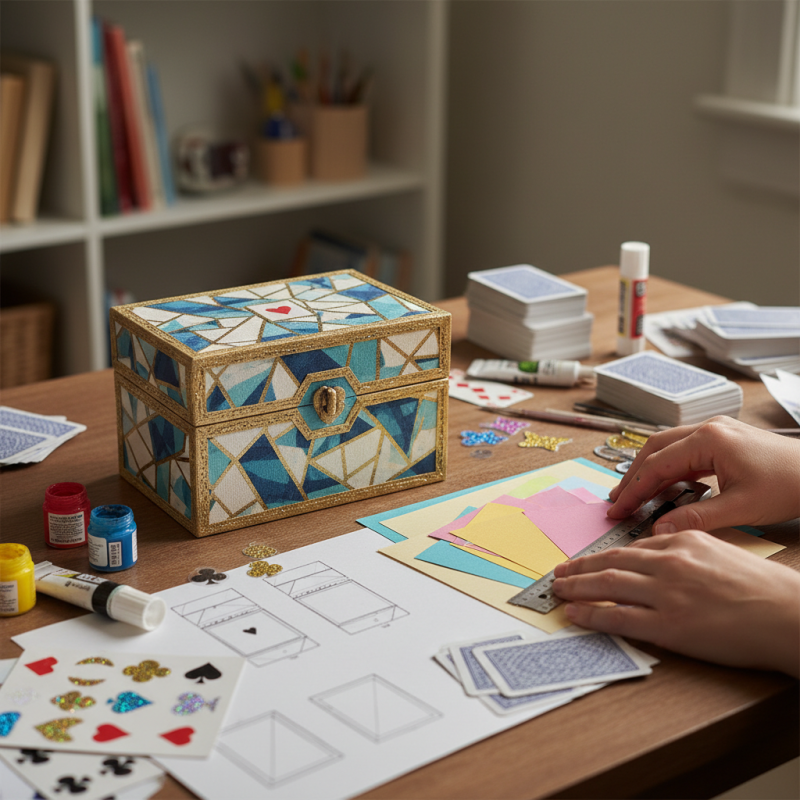
Creating a playing card box at home can be both fun and practical. With a few simple materials, you can design a unique storage solution for your cards. Whether you are an avid card player or enjoy a casual game night, a personalized playing card box makes a great gift or addition to your collection.
The process is straightforward, yet it allows for personal touches that reflect your style. You might choose to decorate with paint, stickers, or even fabric. While this project can be easy, you may encounter challenges along the way. For instance, achieving the right dimensions can be tricky. It's essential to measure accurately for a snug fit.
Don't be discouraged by imperfections; they can add character to your creation. Reflect on your design choices as you go. Your playing card box will not only serve a practical purpose but also showcase your creativity. By the end, you'll have a functional item that enhances your gaming experience while being a reflection of your personal taste.
Materials Needed for Making a Card Box at Home
Creating a playing card box at home can be a fun and rewarding project. To get started, gather essential materials. You'll need sturdy cardboard or chipboard as the base structure. The average thickness should be around 1.5mm to ensure durability. A precision knife or scissors will be crucial for cutting the cardboard accurately. Additionally, adhesive glue and a ruler will help in assembling your box seamlessly.
Decorative paper can add a personal touch. A recent industry report showed that DIY projects have seen a 20% increase in popularity among adults. This trend indicates that more people appreciate the creativity of constructing handmade items. You might also consider using markers or paint for a unique design. However, ensure that your design does not impede the box's functionality. Sometimes, too many embellishments can compromise the box's sturdiness.
It's vital to reflect on your design process. Measure your card dimensions first; this will dictate your box size. A common oversight is not double-checking these measurements, leading to poorly fitting boxes. Perfection isn't always attainable in DIY projects, but patience and practice yield better results. Embrace imperfections, as they can enhance the character of your creation.
Step-by-Step Guide to Designing Your Playing Card Box
Creating a playing card box at home can be a fun and rewarding project. Follow this step-by-step guide to design and craft your own. Start with the materials. You'll need sturdy cardboard, a ruler, scissors, and adhesive. Choosing the right dimensions is crucial. Ensure your box fits your cards comfortably. It should not be too tight or too loose. A snug fit will protect your cards well.
After measuring and cutting the cardboard, fold the edges to form the box. Use your adhesive to secure the corners. Don’t worry if it looks a bit uneven at first. You can cover imperfections later. Consider adding decorative elements. Paint, stickers, or fabric can elevate your design. Personal touches make it unique.
**Tips:** When working with adhesive, apply a thin layer. This prevents mess and ensures clean edges. Take your time with the measurements. Rushing might lead to mistakes. A well-measured box will guarantee a perfect fit for your cards. Experimenting with designs is key. If one idea doesn’t work, try another until you’re satisfied with the outcome. Don't hesitate to seek inspiration from existing designs!
How to Make a Playing Card Box at Home Easily? - Step-by-Step Guide to Designing Your Playing Card Box
| Step |
Materials Needed |
Instructions |
| 1 |
Cardboard, Scissors, Ruler, Pencil, Glue |
Measure and cut the cardboard into the desired dimensions for the box. |
| 2 |
Decorative Paper (optional) |
If desired, cover the cut cardboard with decorative paper using glue. |
| 3 |
Ruler, Pencil |
Fold the cardboard along the measured lines to form the box shape. |
| 4 |
Glue |
Secure the folds with glue to hold the box structure. |
| 5 |
Paint or Markers (optional) |
Decorate the box with paint or markers as per your choice. |
| 6 |
Playing Cards |
Place your cards in the box once it's dry and fully constructed. |
Instructions for Cutting and Assembling the Card Box
Creating a playing card box at home involves precise cutting and thoughtful assembly. First, gather materials like card stock or sturdy paper. According to industry reports, customized packaging can enhance user experience by up to 30%. This underscores the importance of design in not just aesthetics, but functionality as well.
To cut the box, measure and mark dimensions accurately. A common size for a card box is 3.5 inches by 2.5 inches by 0.75 inches. Utilize a ruler and a craft knife for clean edges. Precision is crucial; uneven cuts compromise the box's durability. Ensure all corners are 90 degrees for proper fitting. After cutting, use a scoring tool to fold along marked lines. This step improves the box's structure and makes assembly easier.
When assembling, apply an appropriate adhesive. Some prefer glue, while others opt for double-sided tape for instant bonding. Each method has its pros and cons. Glue allows for adjustments but takes longer to set, while tape offers speed but may not hold as firmly over time. Reflect on what works best for you based on your experience and intended use. The process can be trying at times, but the end product—a personalized card box—can be quite rewarding.
Playing Card Box Production: Materials Used (in grams)
Decorating Your Card Box for Personalization and Style
Personalizing your playing card box can be a fun and creative process. Start by selecting a sturdy box as your base. You might consider wood, cardboard, or even an old shoe box. Once you have chosen your material, prepare it for decoration. It’s often useful to clean the surface to ensure that the paint or glue you use adheres well.
Now comes the exciting part: decorating. Using acrylic paint, you can create vibrant designs. Think about your favorite colors or themes. For a whimsical touch, try using stencils or stamps. Adding stickers or washi tape can also bring a playful vibe.
Consider incorporating personal elements like your initials or favorite quotes. A layer of varnish can make everything shine and add durability. Remember, sometimes the imperfect touch of hand-painted designs can add character to your box.
Reflecting on your choices during this creative process is essential. As you decorate, you might realize that some elements clash or don’t fit your vision. Don’t be afraid to take a step back and reassess. This journey of personalization should reflect your personality. Embrace any mistakes as part of the art. Each flaw can tell a story, making your box even more special.
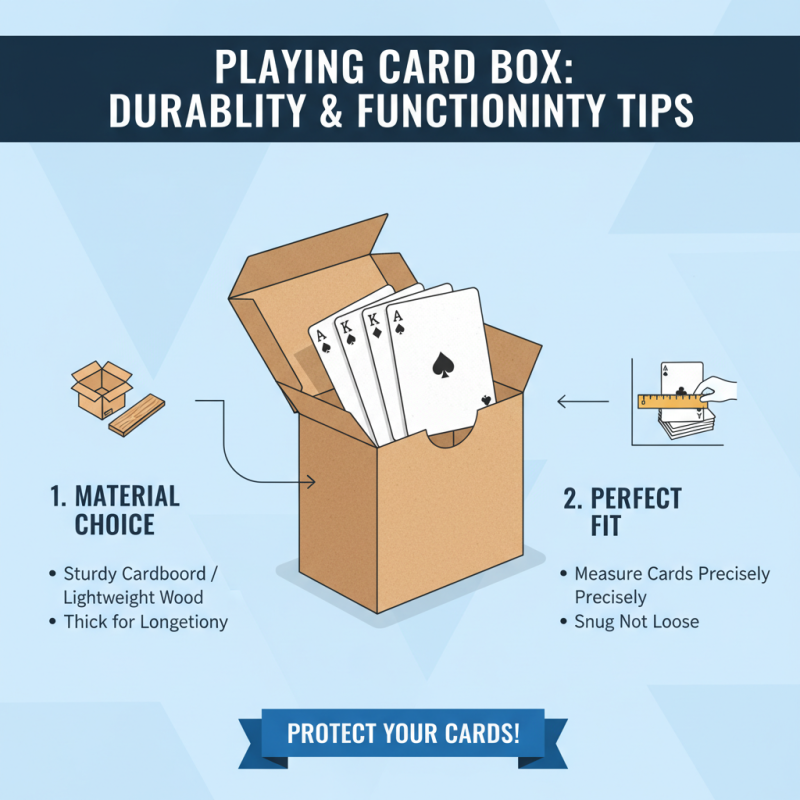
Tips for Ensuring Durability and Functionality of the Box
Creating a playing card box at home can be a rewarding project. To ensure your box is durable and functional, pay attention to material choice. Sturdy cardboard or lightweight wood is ideal. Using thicker materials enhances the box's lifespan. Measure your cards carefully to create a snug fit. A box that is too loose will not protect the cards properly.
Consider reinforcement techniques. Adding corner brackets or using duct tape can strengthen the structure. Additionally, lining the interior with soft fabric prevents scratches. It may feel unnecessary, but these small details matter. Ensure the lid fits tightly to keep dust and moisture away.
Decorate your box as you wish. Paint or stickers can give it a personal touch. However, avoid overly complex designs that could wear off. Sometimes, simpler is better. Reflect on the functionality versus aesthetics during your design process. Creating a box that looks good but doesn't protect the cards well defeats the purpose. Balancing both elements is essential for a successful outcome.
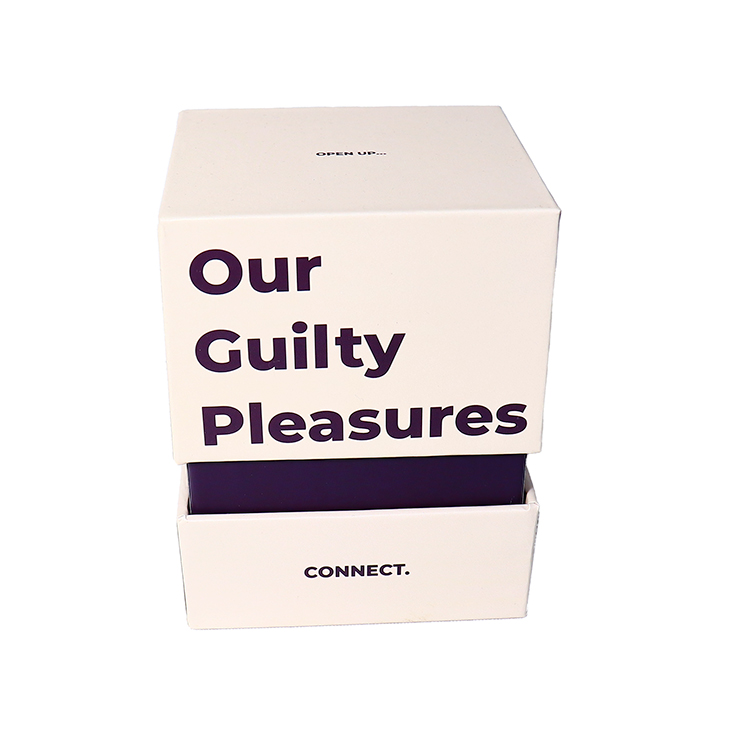
 Customizable Emotional Support Cards for Grief & Resilience
 Personalized Emotional Encouragement Card Collection
 Personalized Deep Conversation Card Gift Box
 Customizable Boho-Chic Affirmation Cards for Mindfulness & Self-Love
 Customized Friendship Confirmation Card
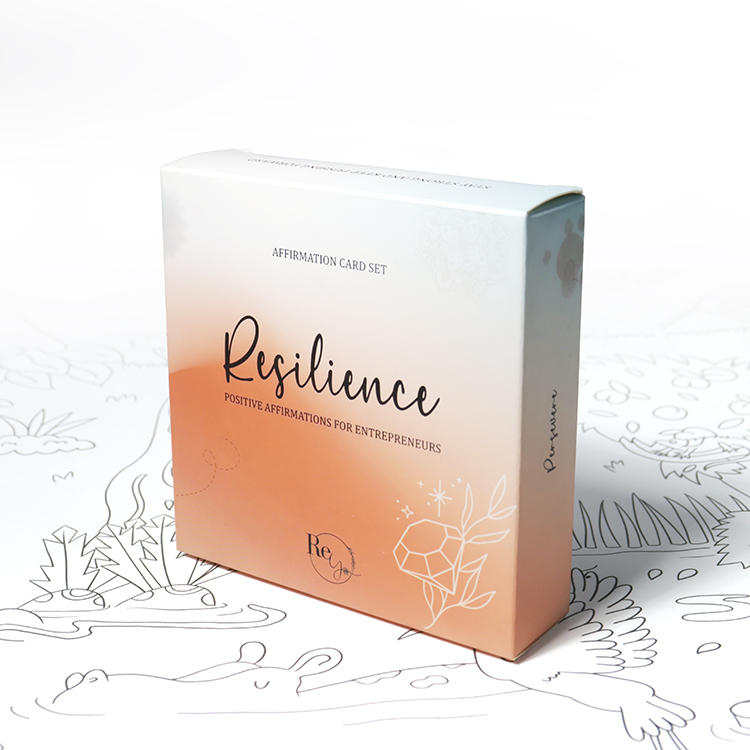 Customized Entrepreneurship Confirmation Card
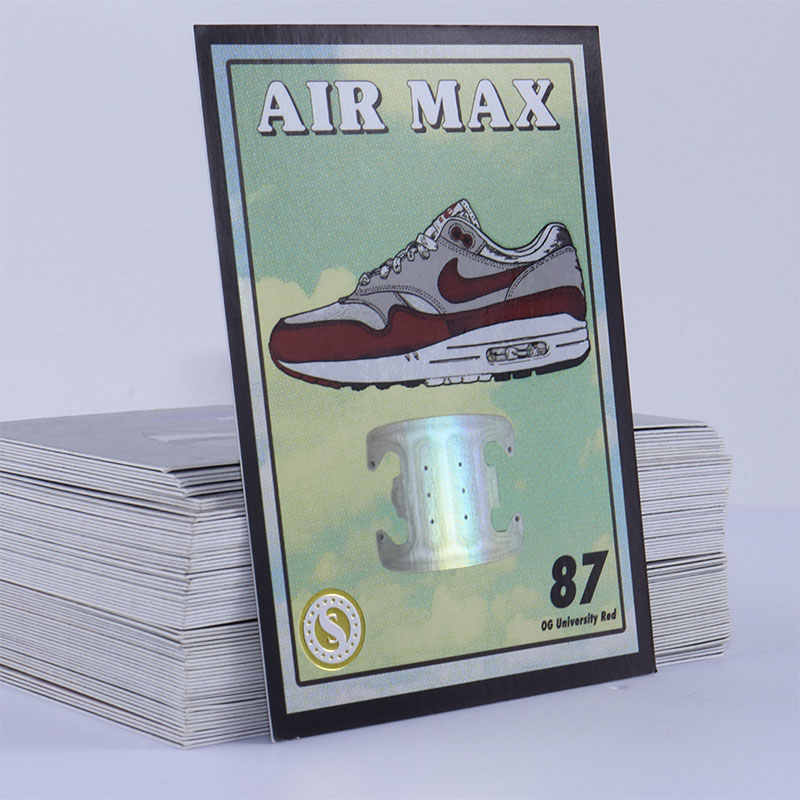 Air Max Pax Custom Sneaker Card Blind Box Set
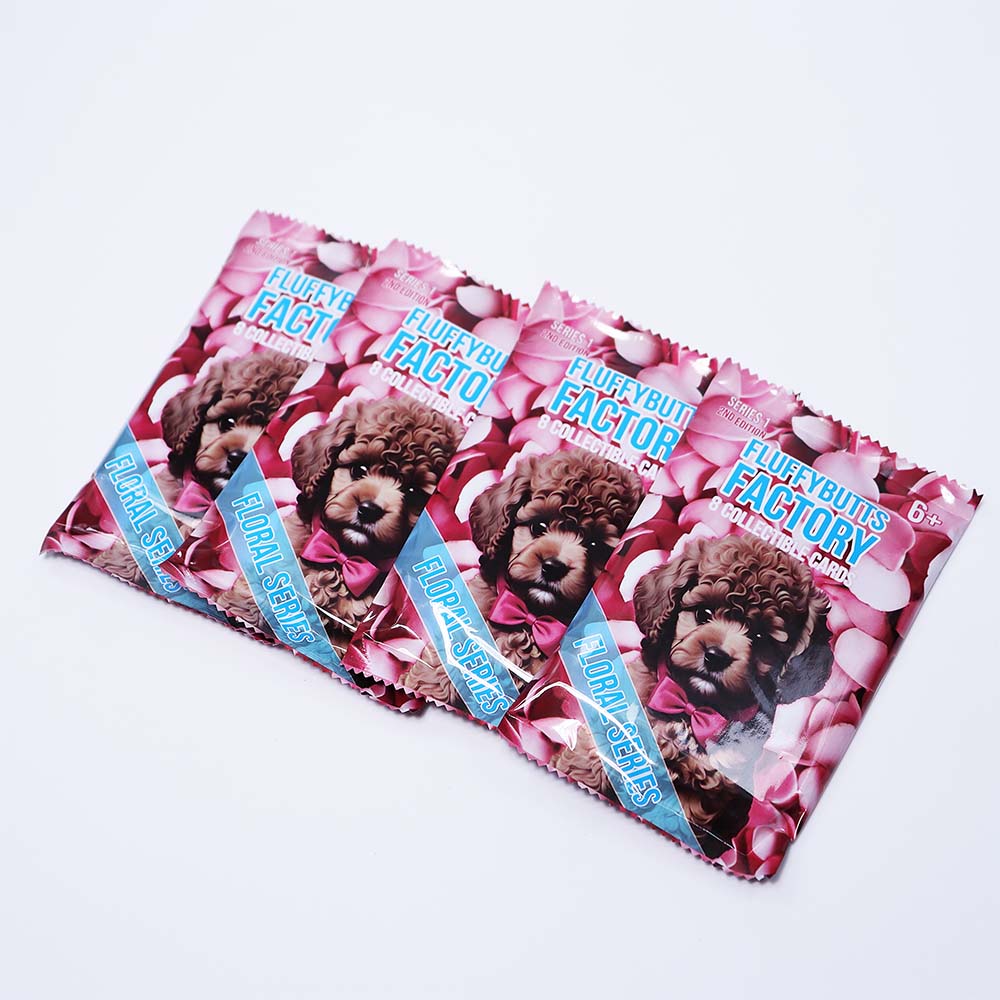 Fluffybutts Factory Custom Pet Card Blind Box Sets
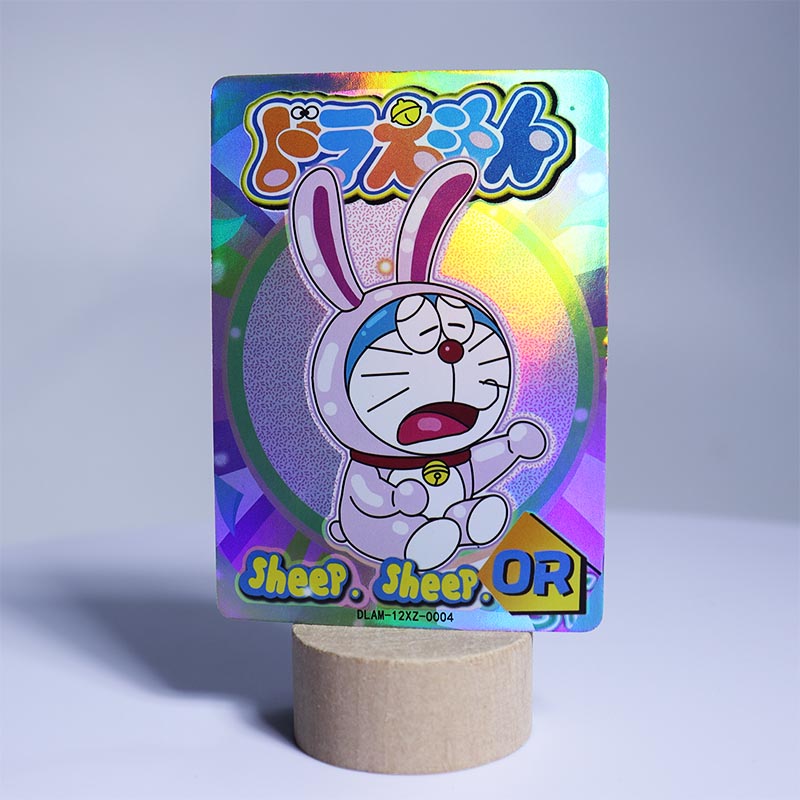 Doraemon Custom Card Blind Box Set
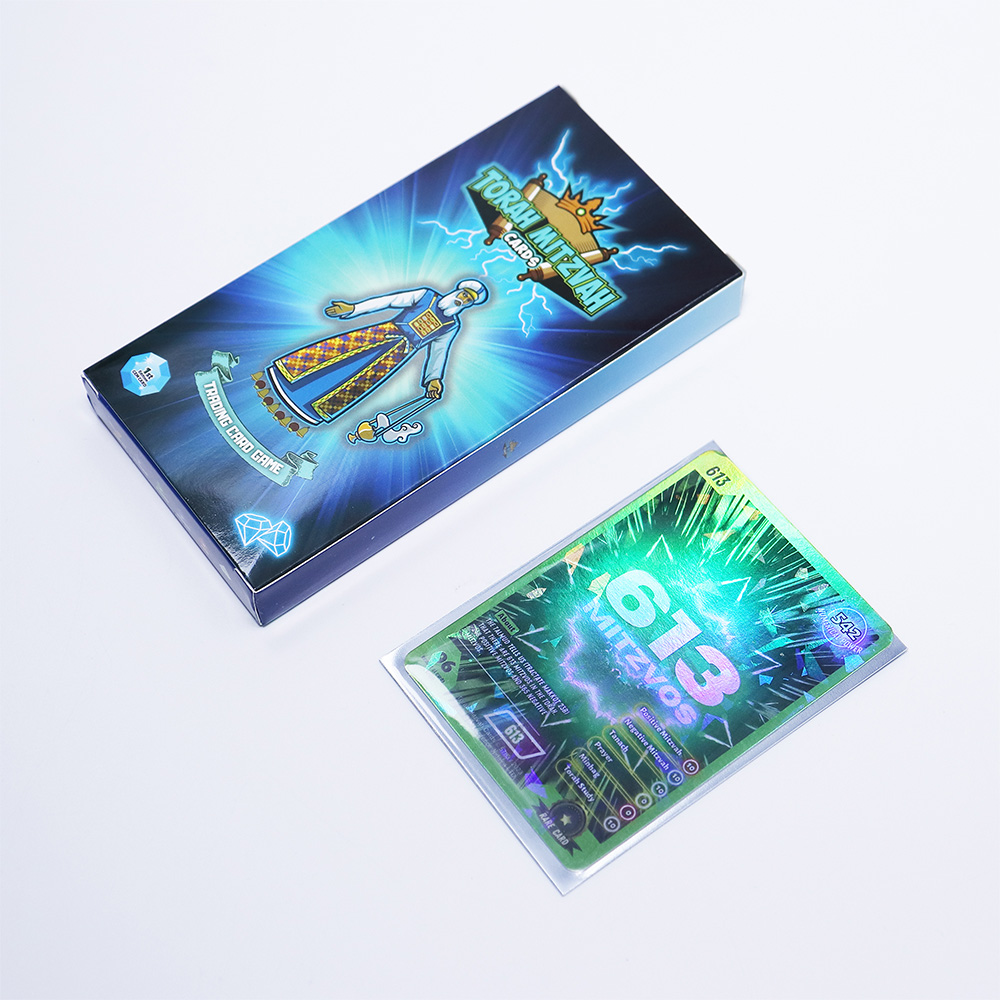 Torah Mitzvah Custom Card Blind Box Set
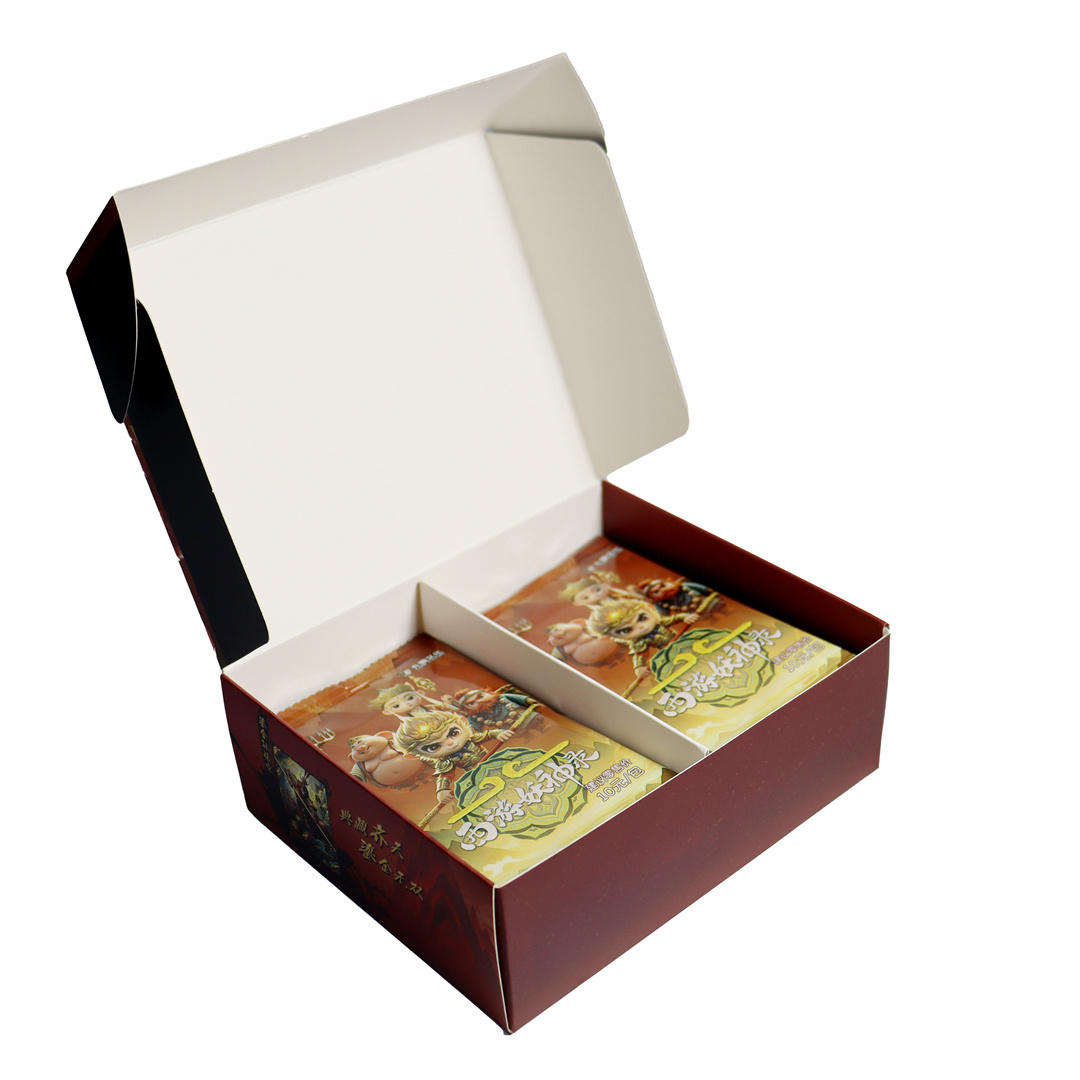 Customized "Journey to the West" Themed Card Blind Box Set
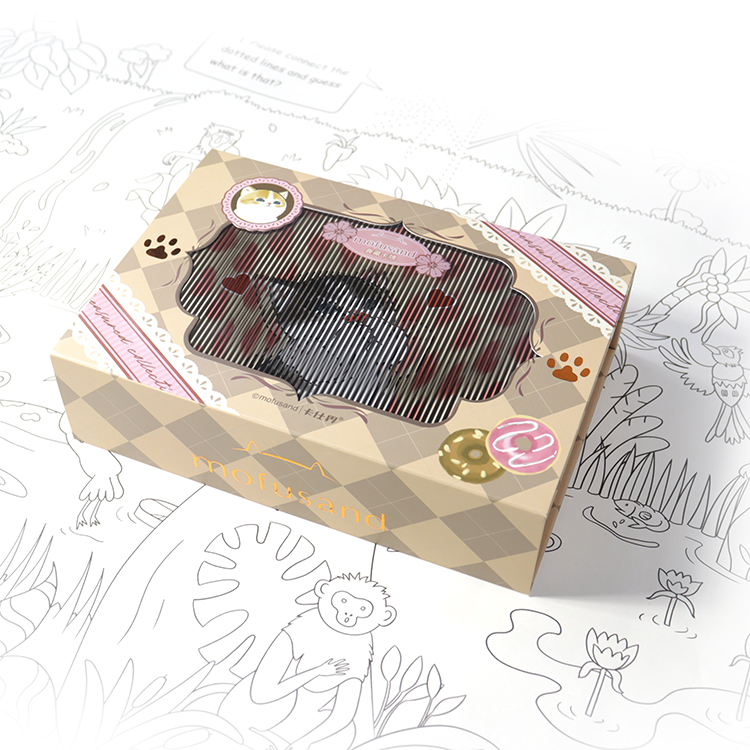 Customized cat-themed blind box set
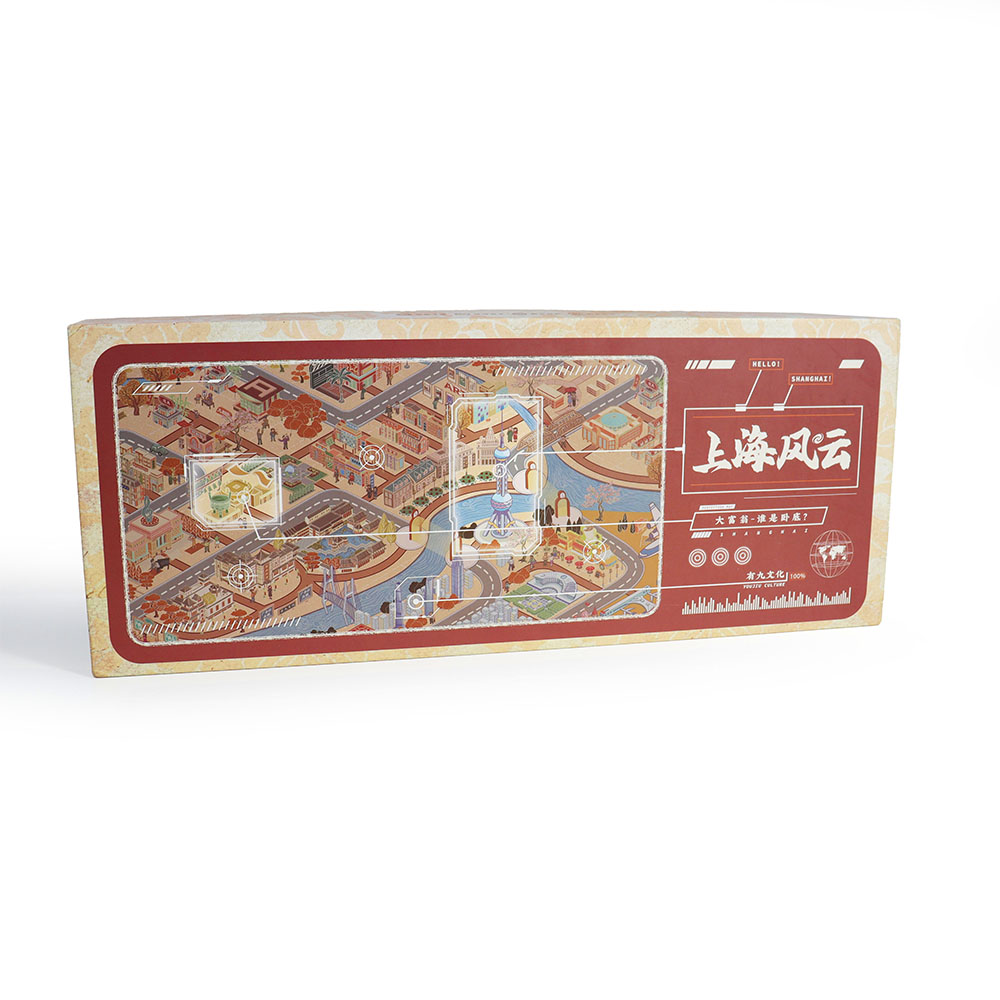 Shanghai Fengyun Custom Board Game Set
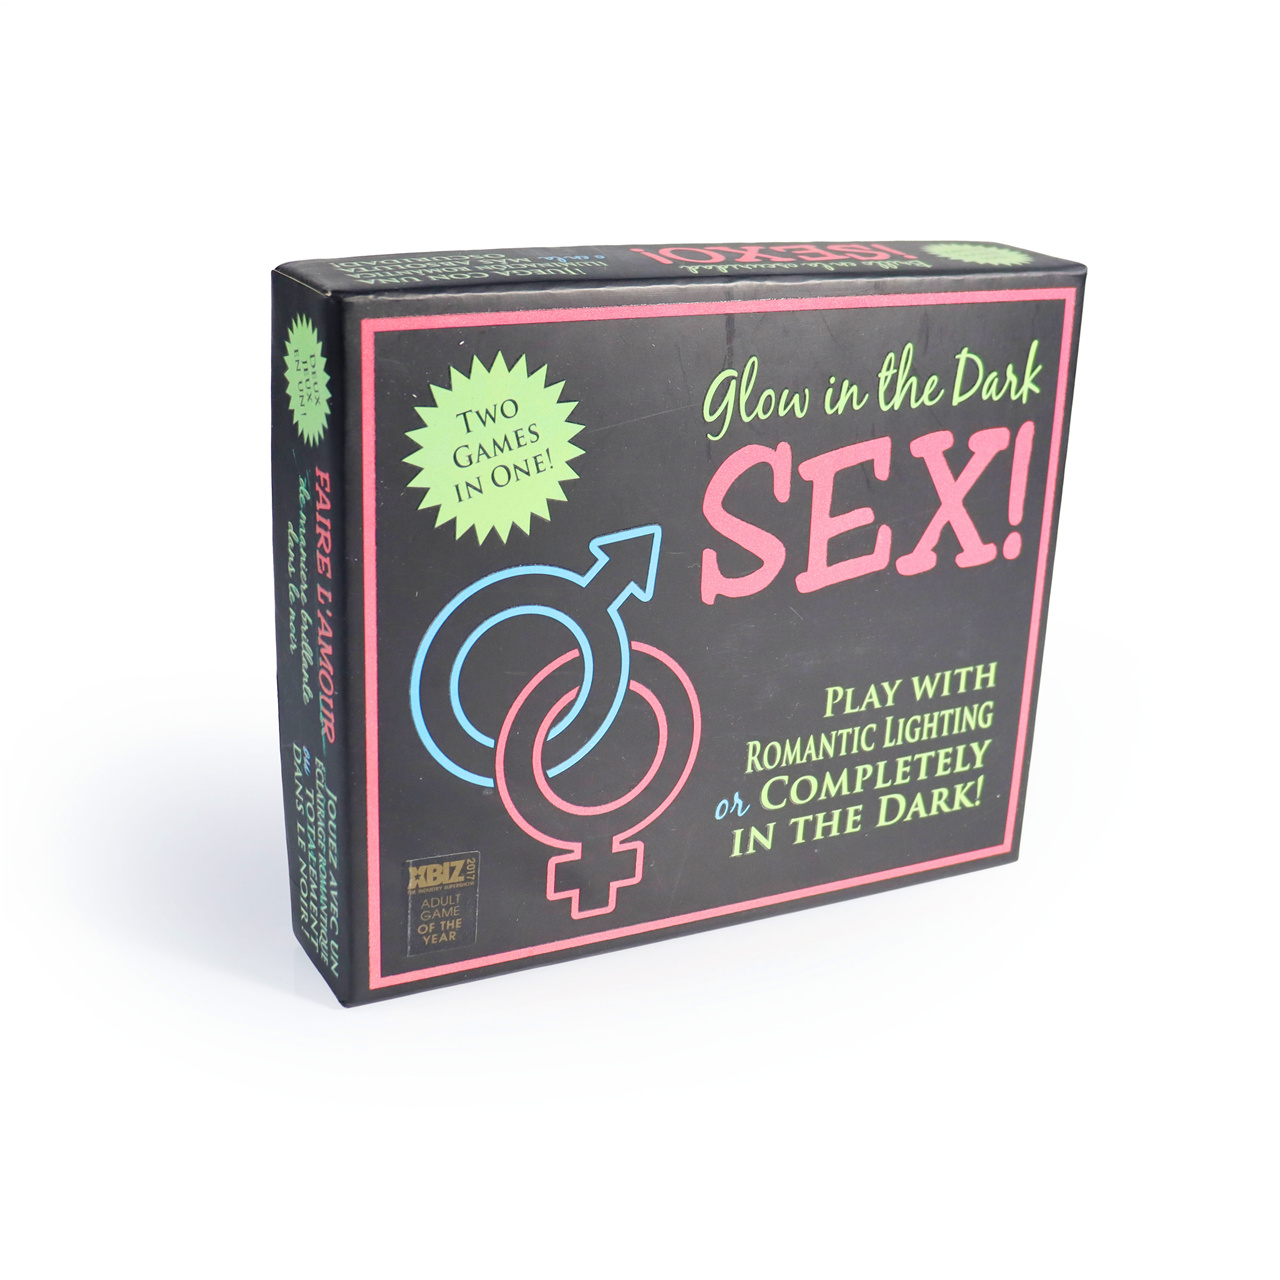
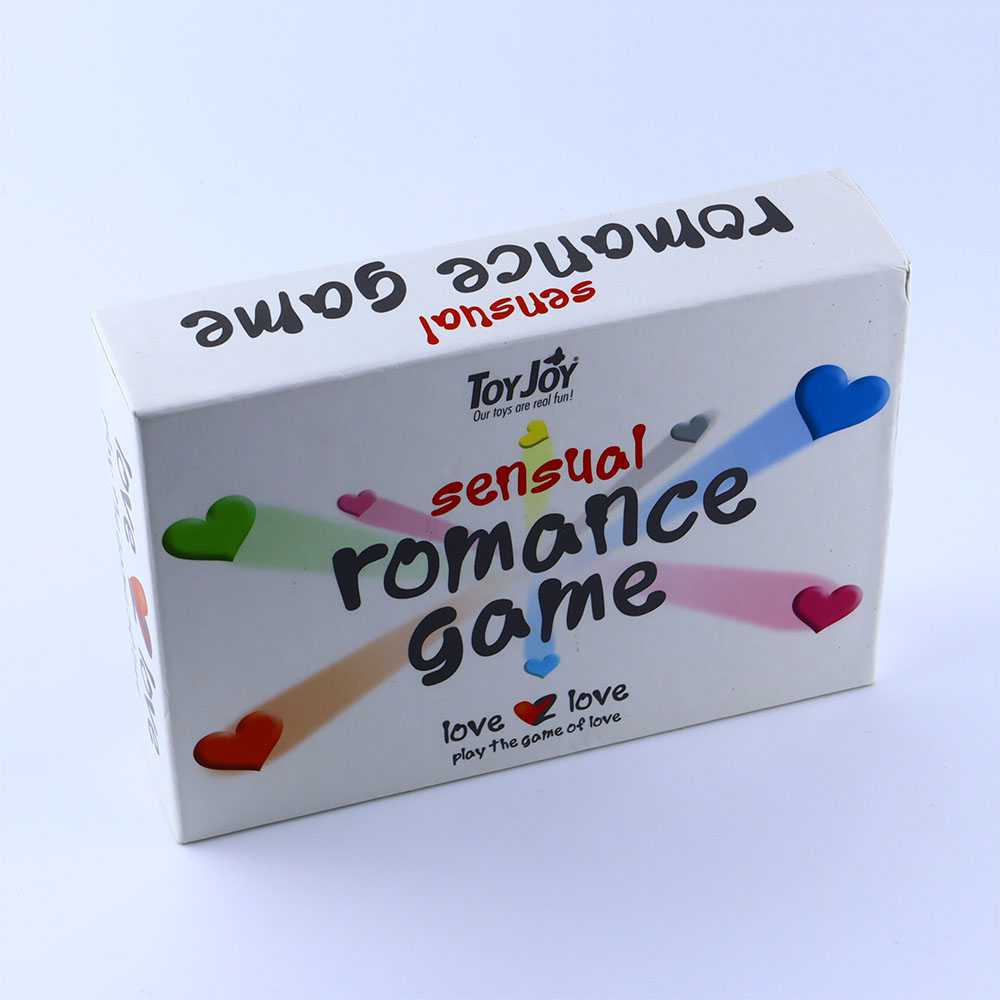 Sensual Romance Game Custom Board Game Set
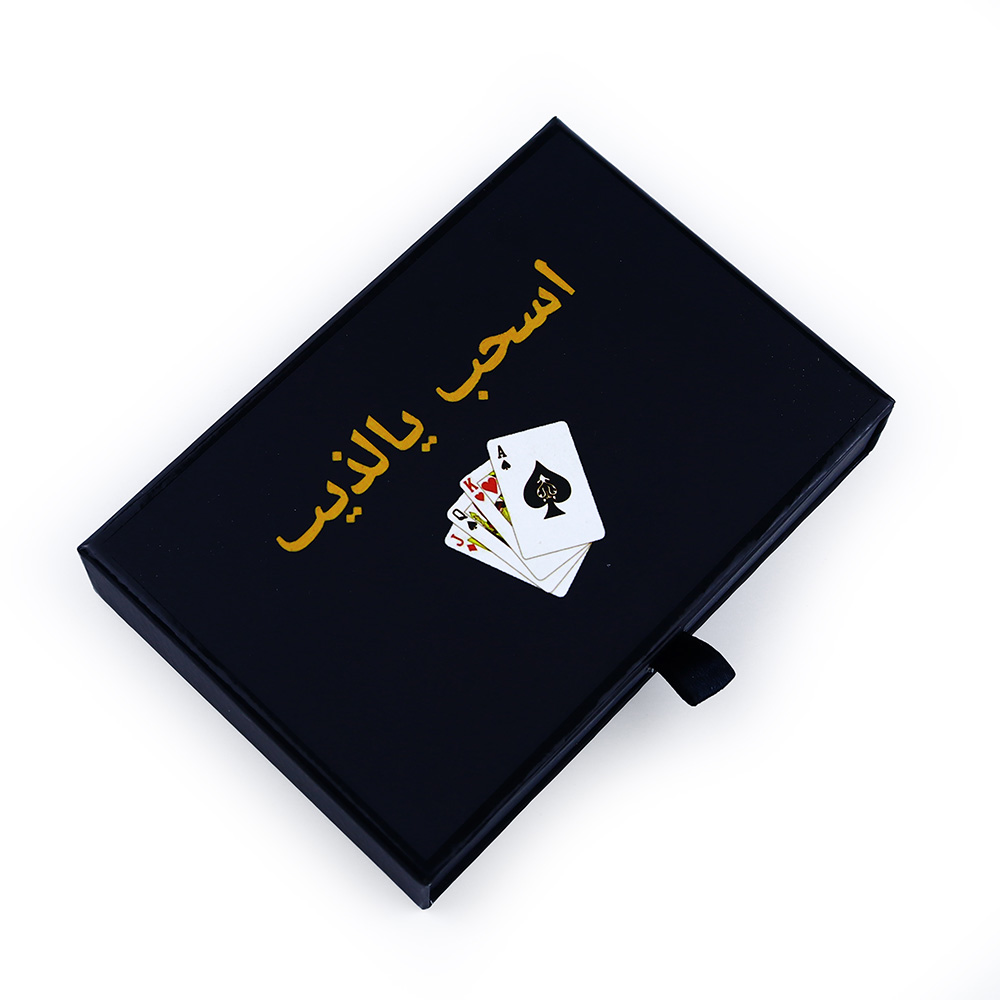
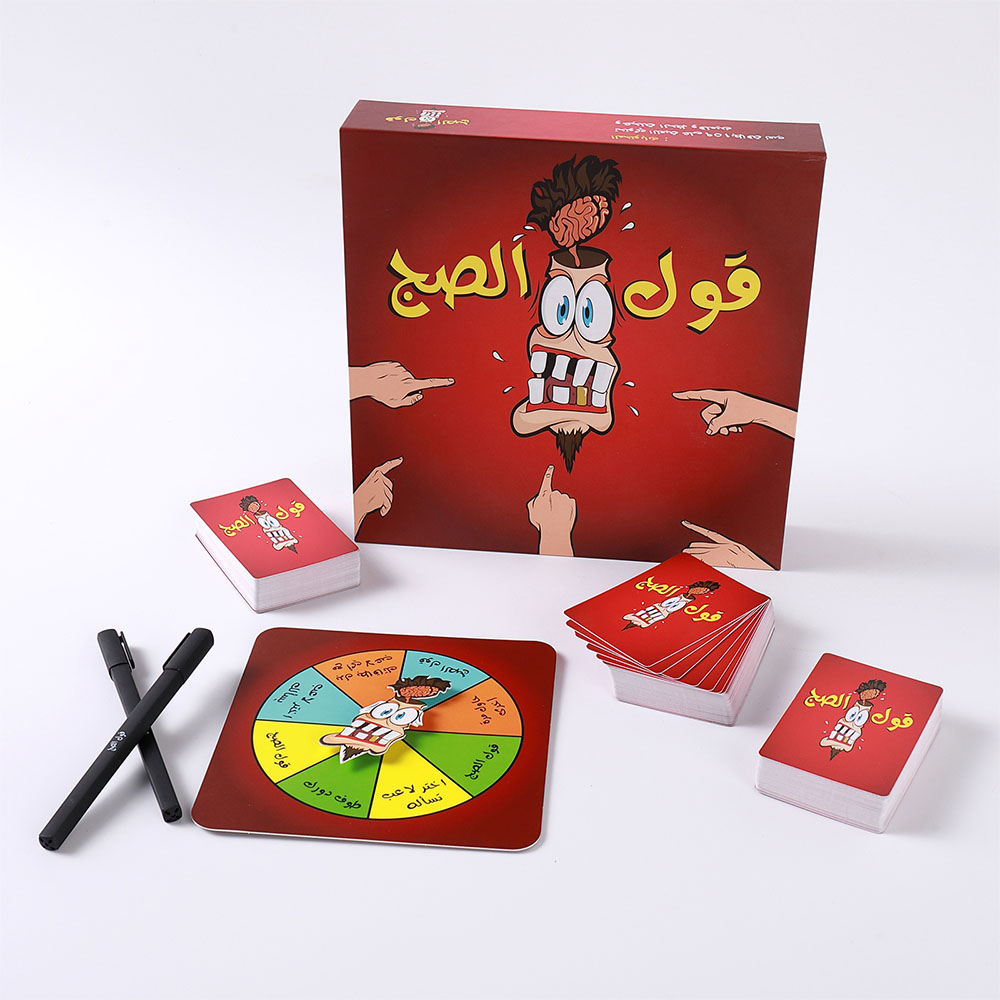 "Qoul Al Sabah" Custom Board Game Set
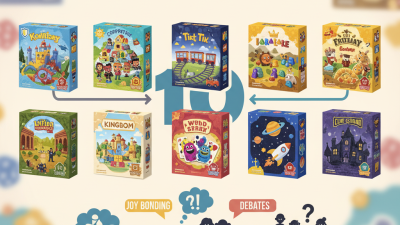
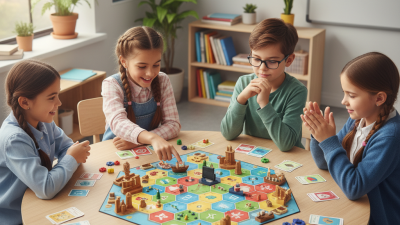
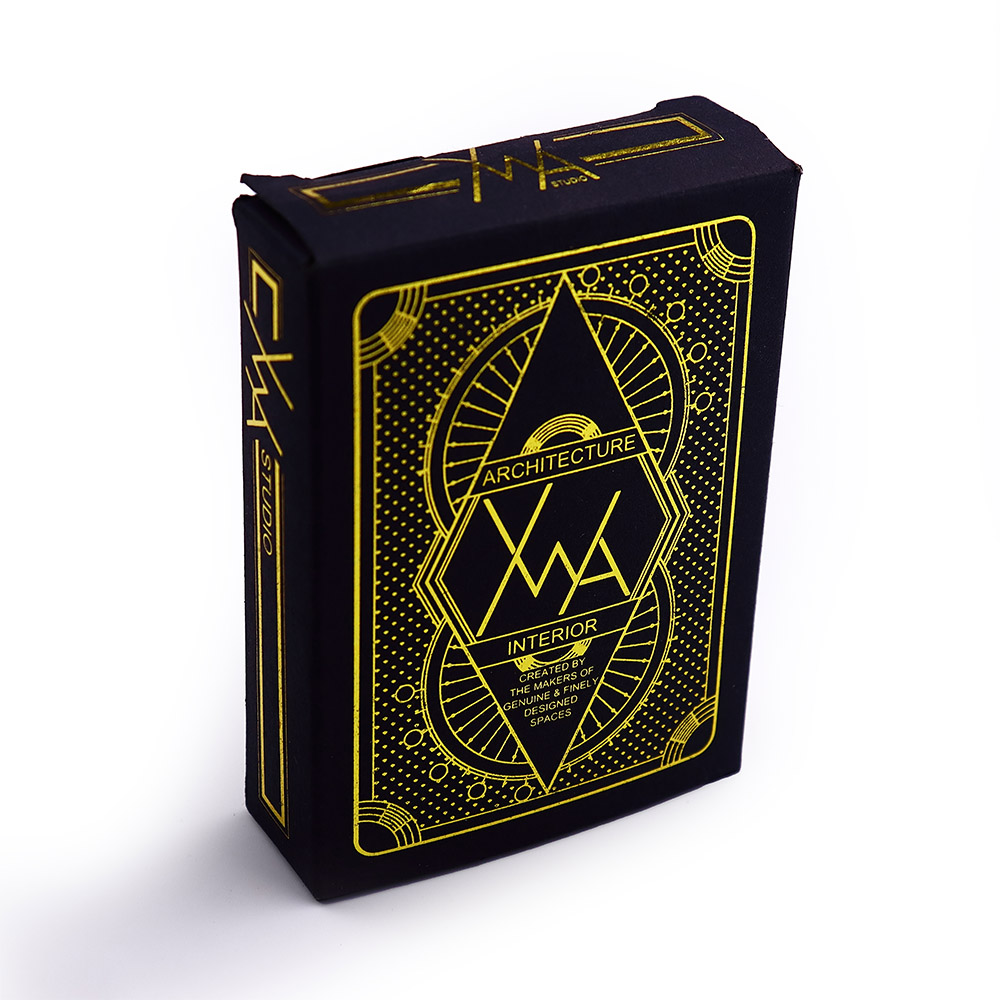
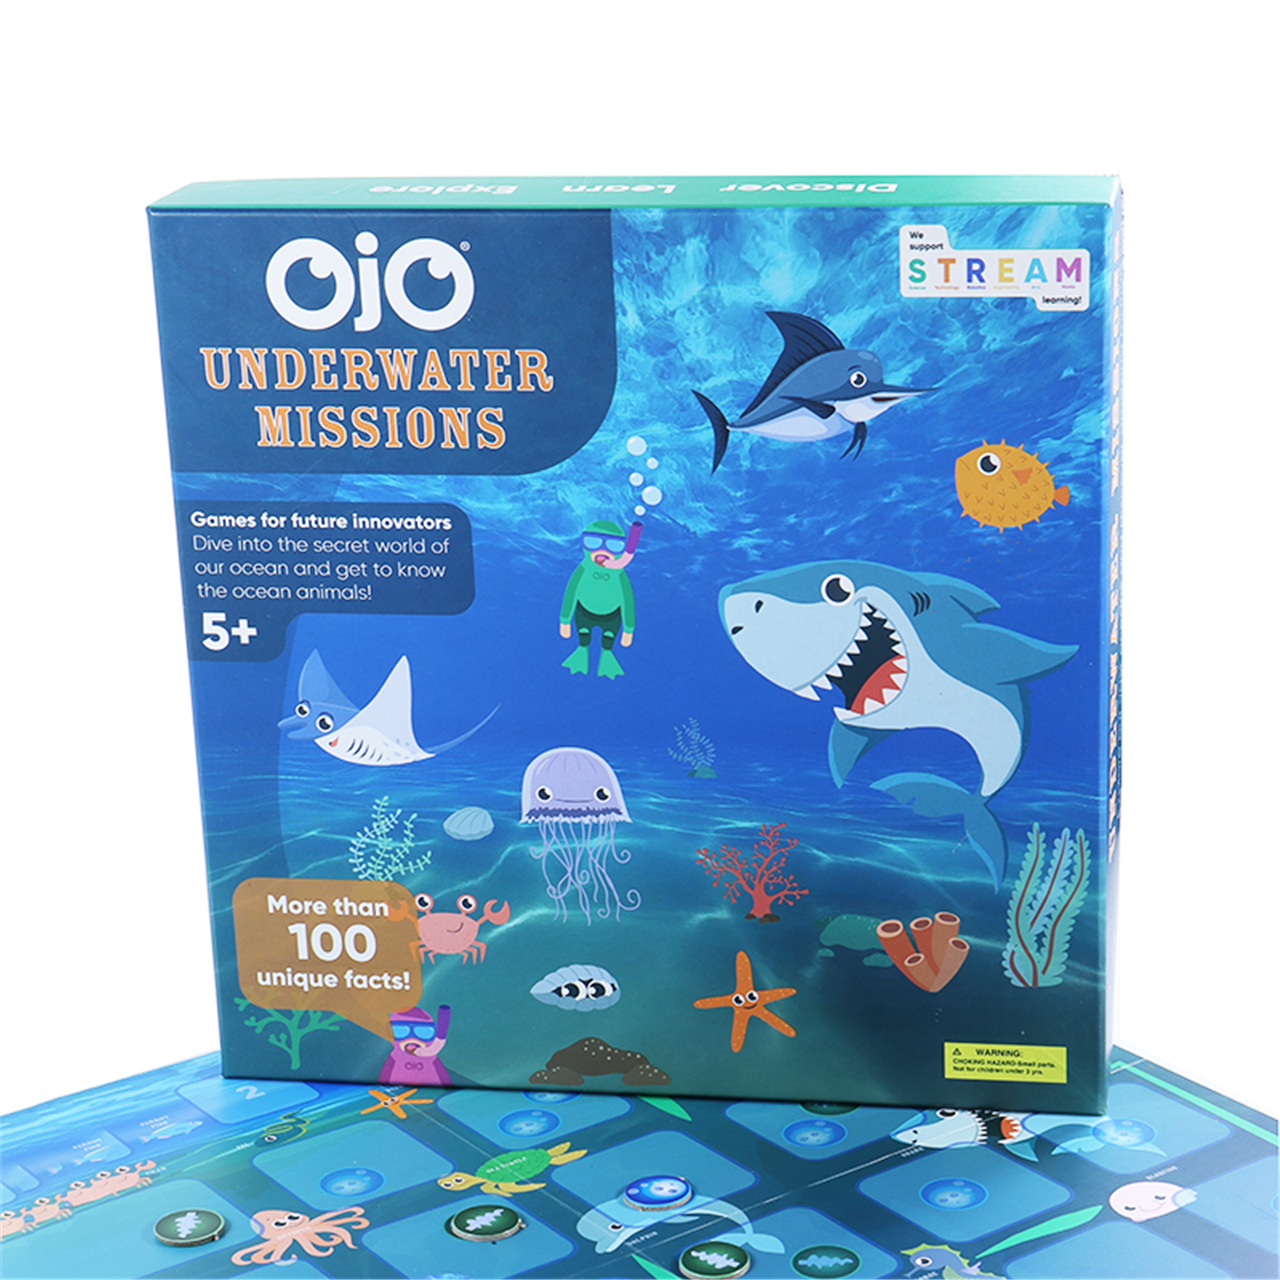 Customized educational board games for children
 Couple Interaction Turntable Themed Board Game
 Business Finance Board Game
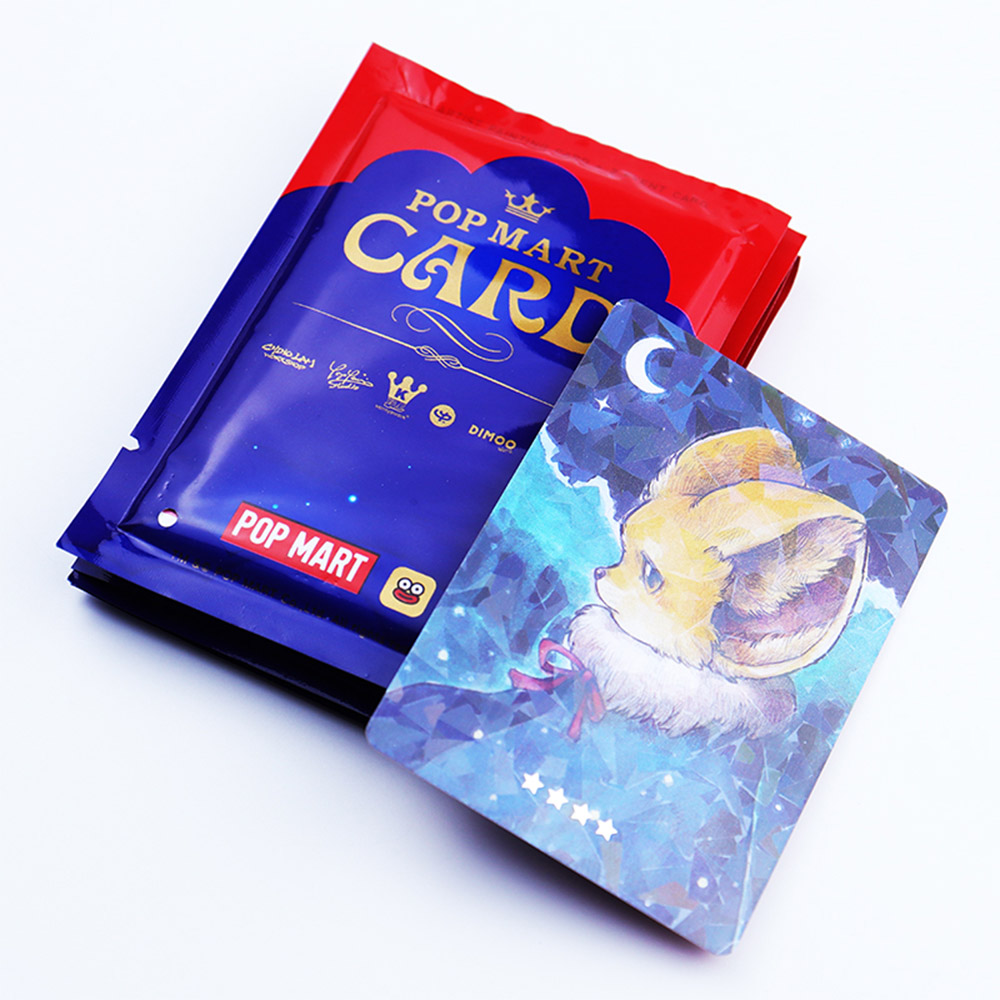 Pop Mart Custom Character Collectible Cards
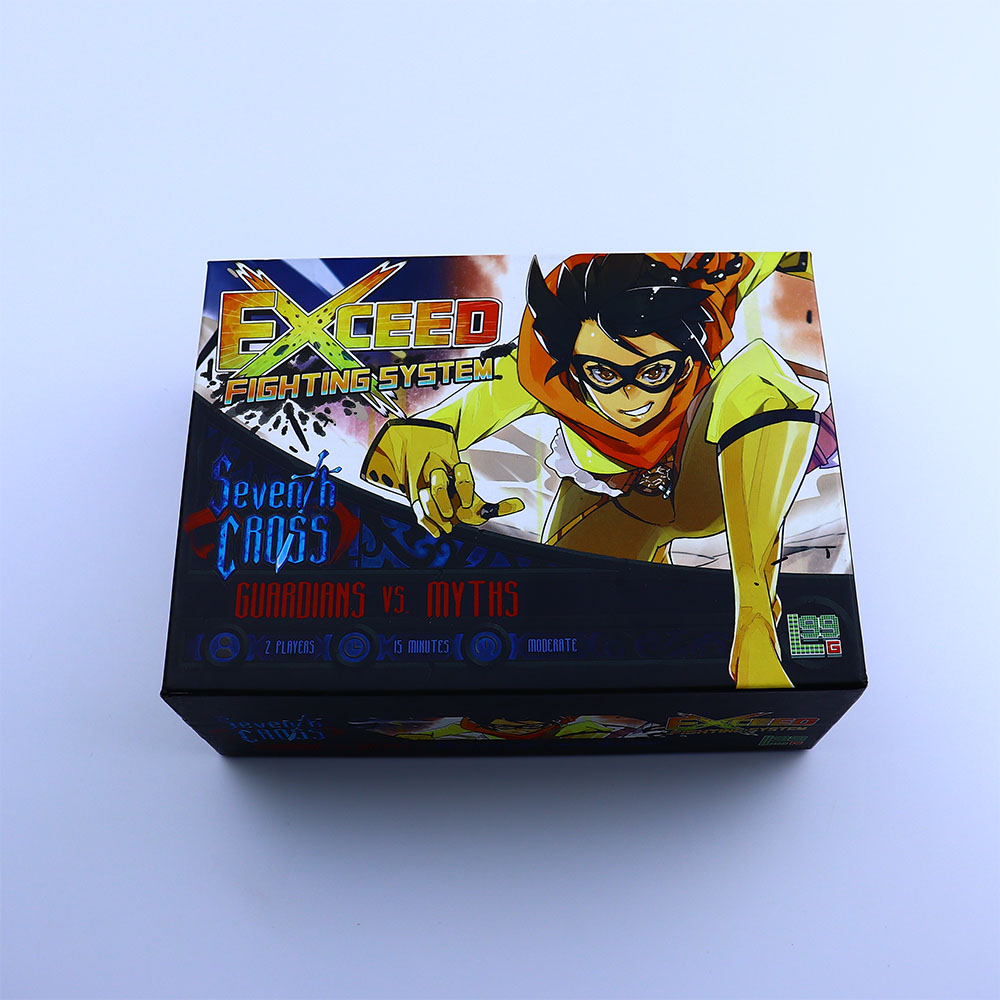 EXCEED Fighting System Custom Character Card Set
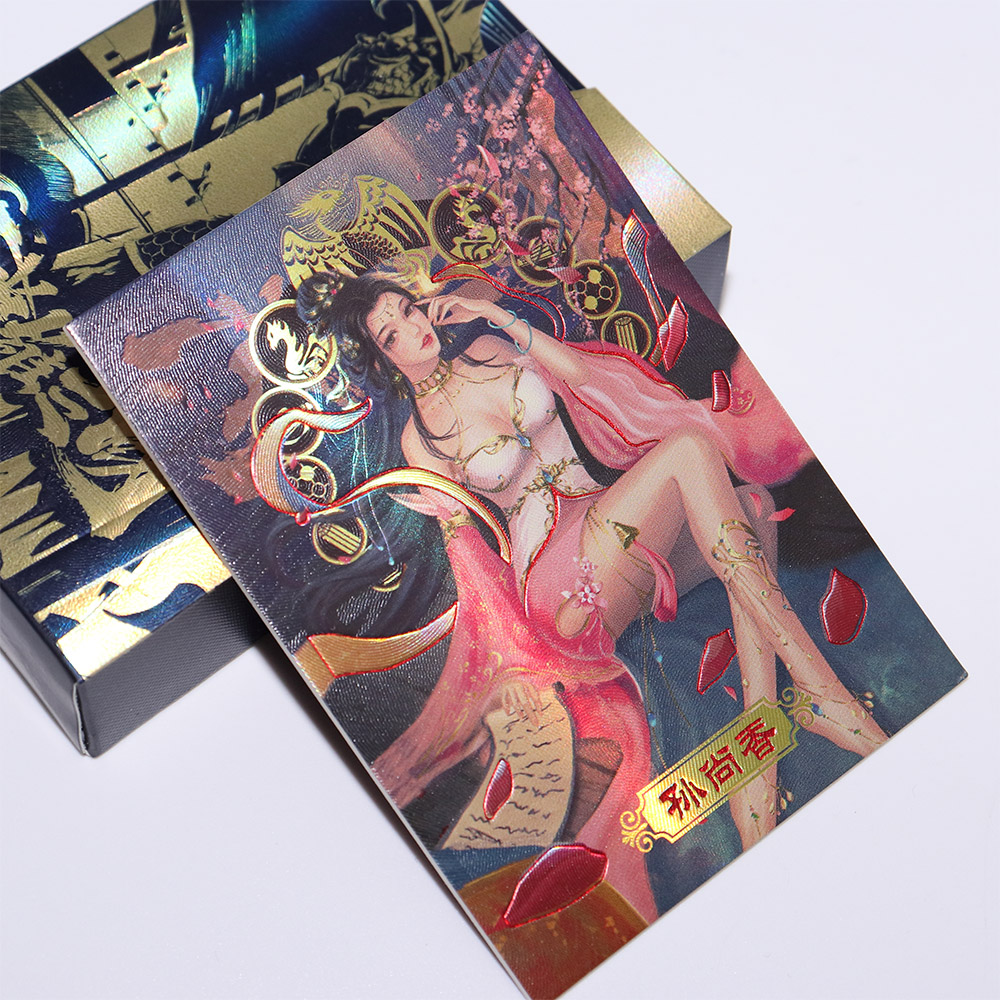 Three Kingdoms Custom Hero Character Cards
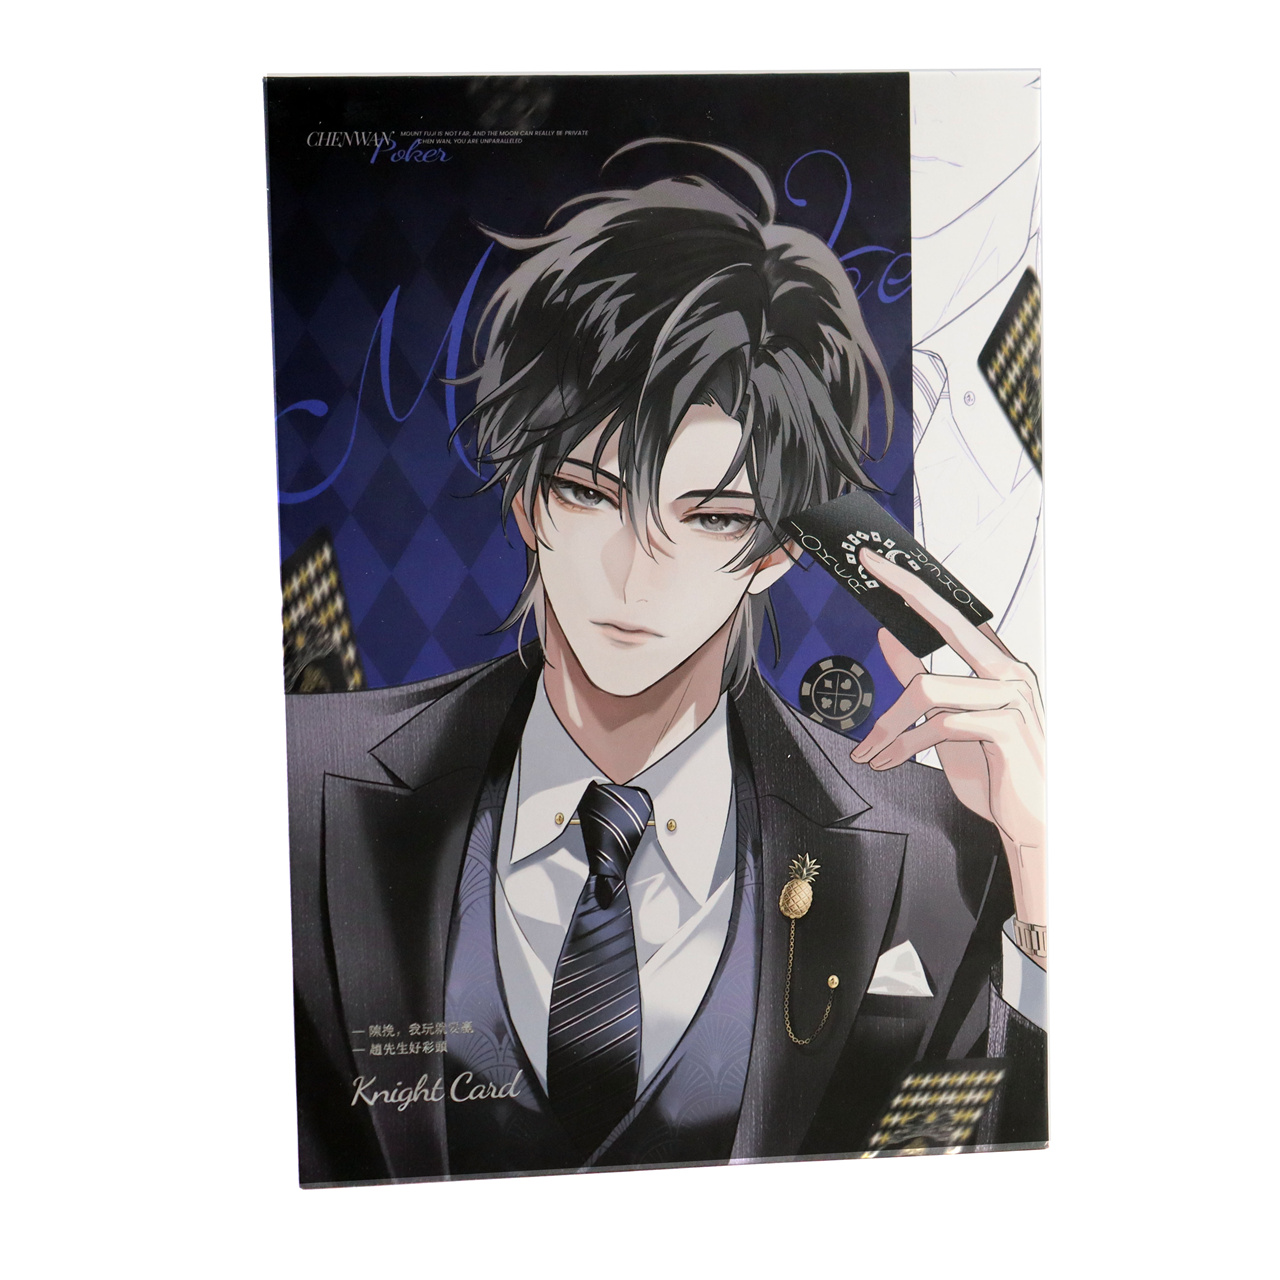
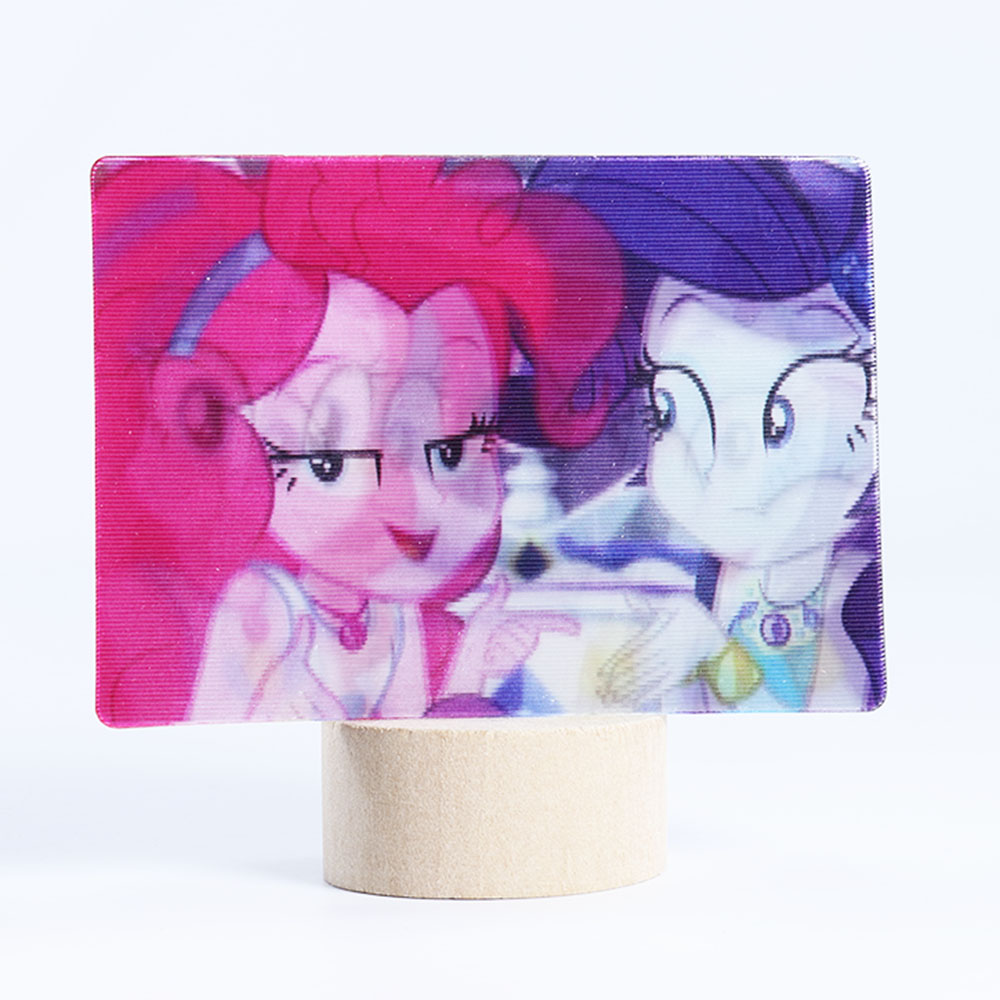 Custom Anime Character Dynamic Visual Cards
 Custom Cartoon Character Collectible Card Set
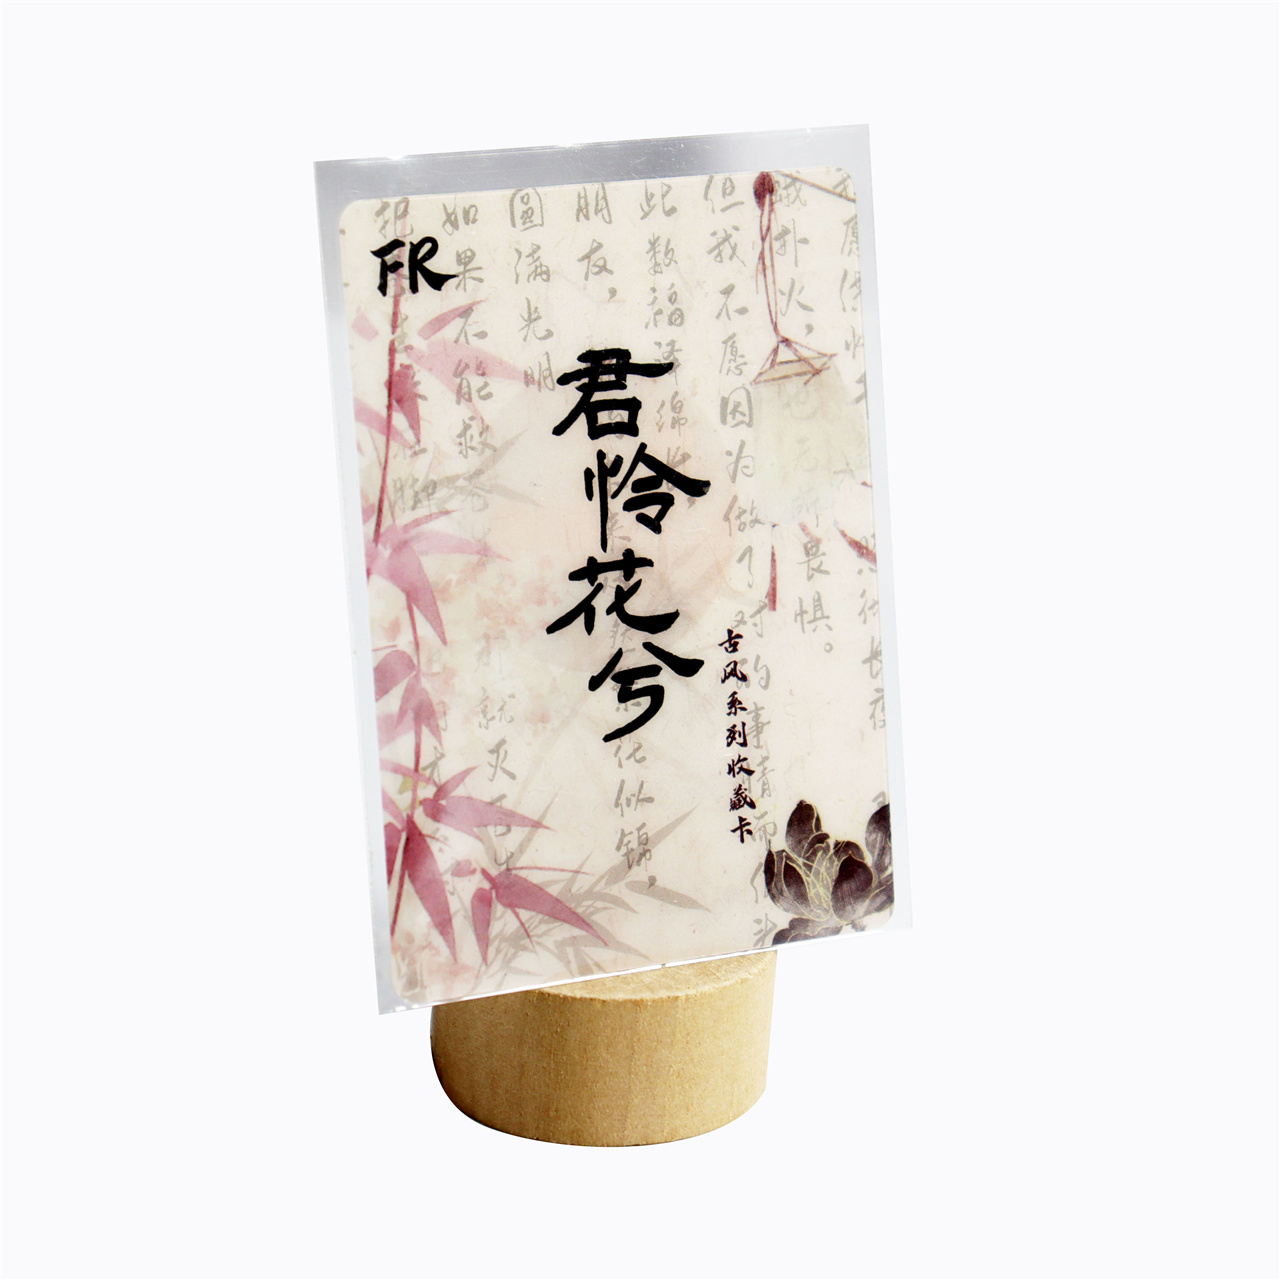
 Custom Anime Character Art Card Set
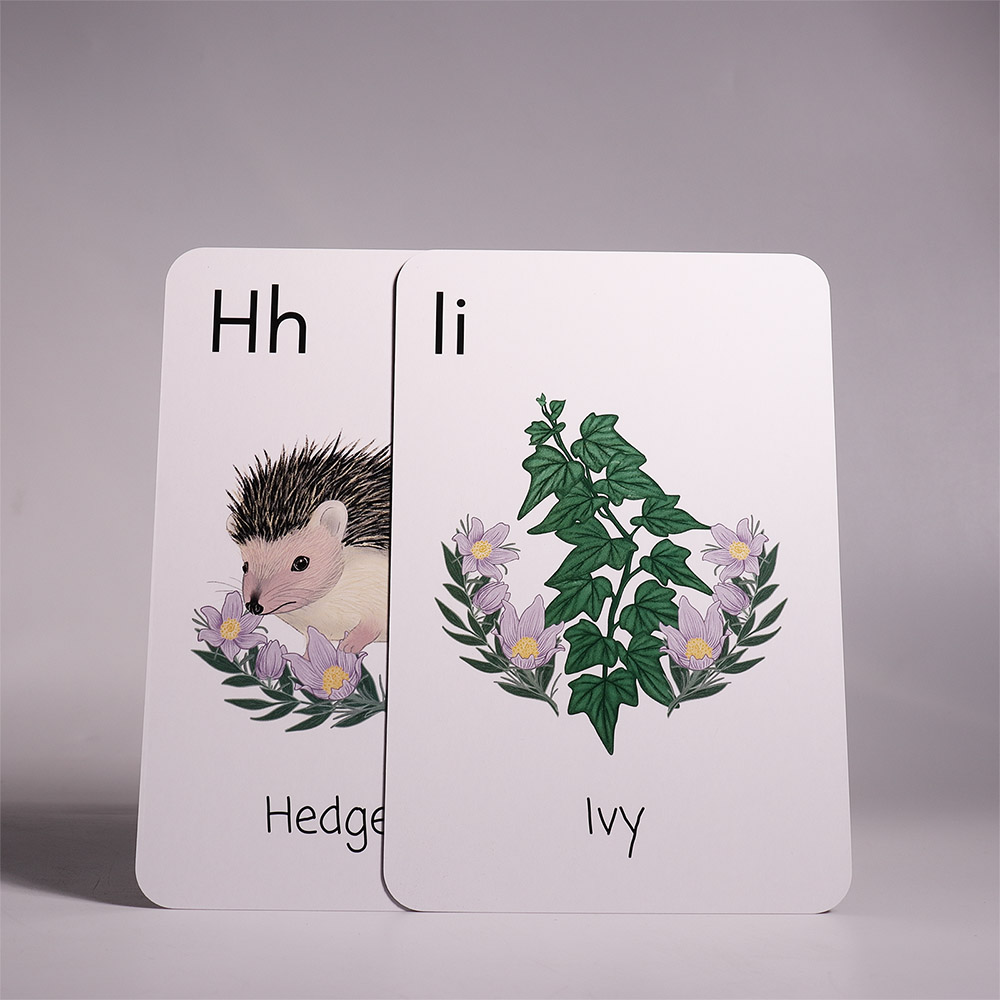 Little Larch Alphabet Cards
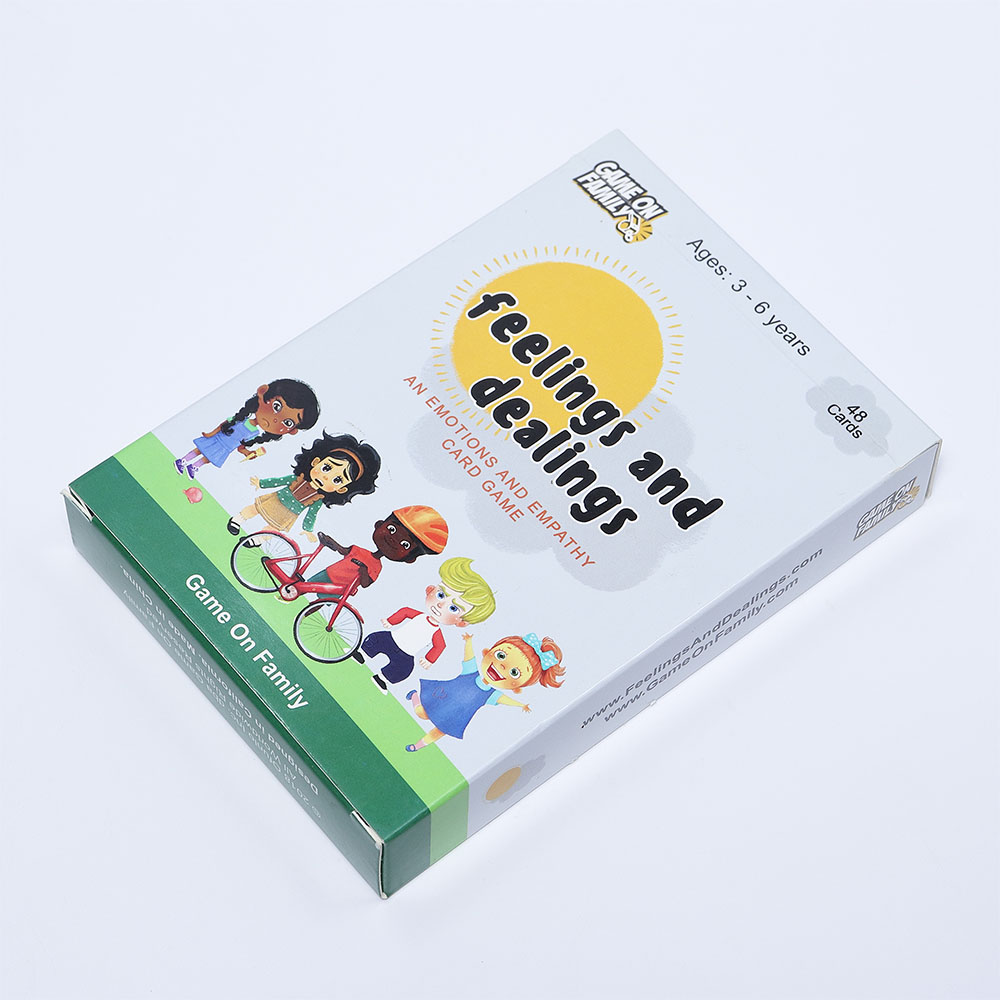 Feelings and Dealings Custom Children's Emotion Card Game
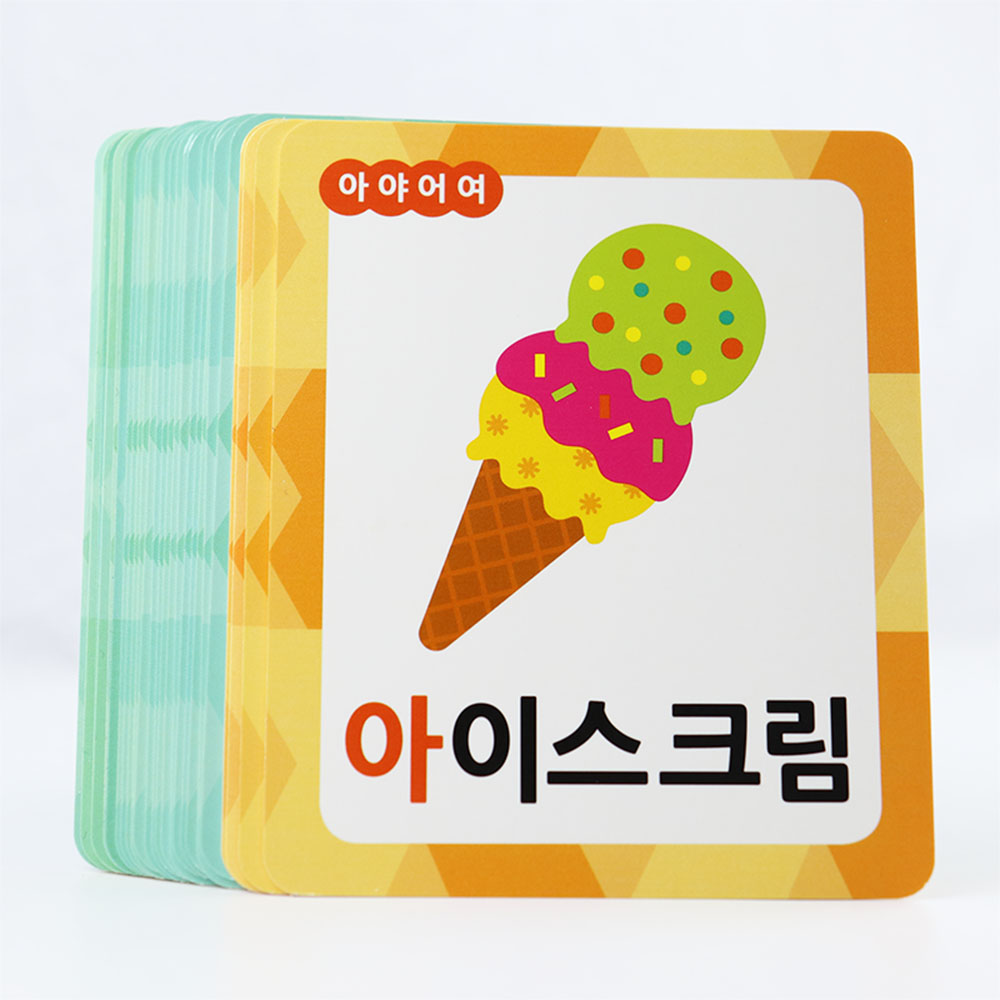 Korean Children's Educational Flashcards
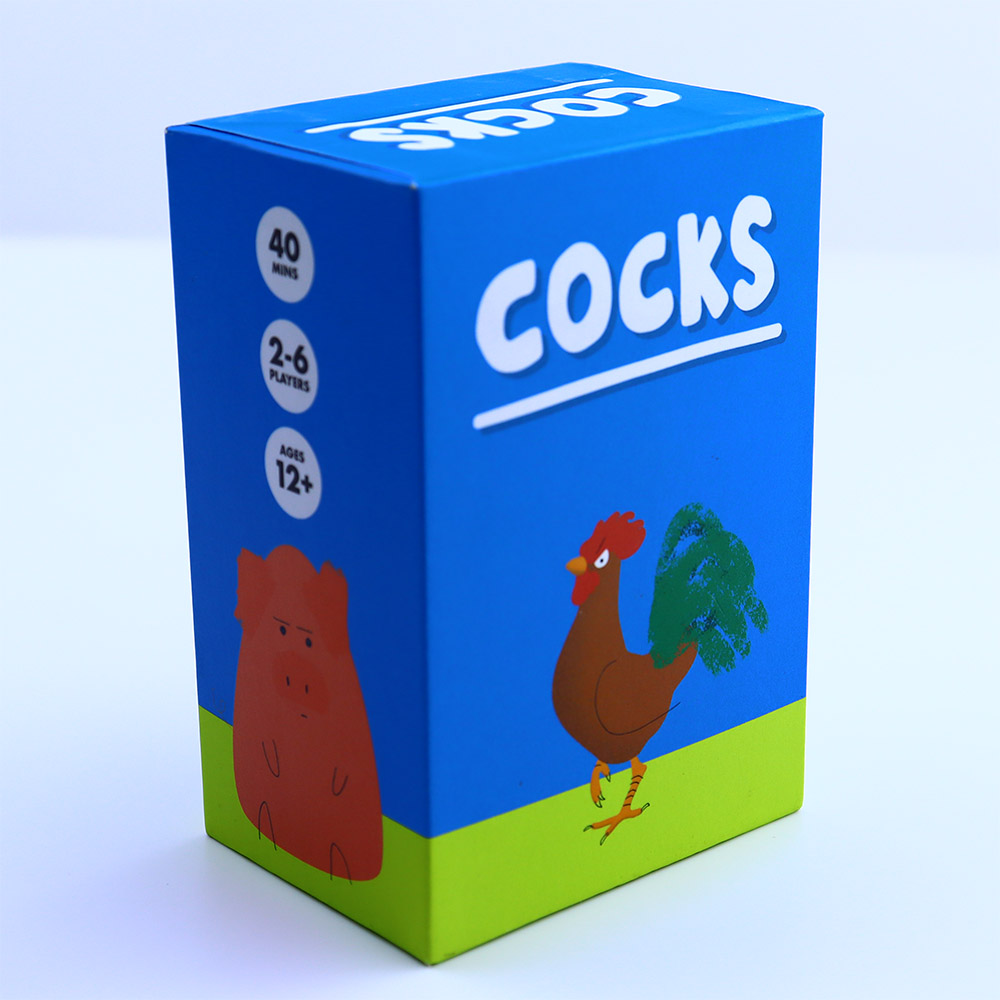 Cocks Themed Custom Children's Learning Cards
 Math Flash Cards Set for Kids
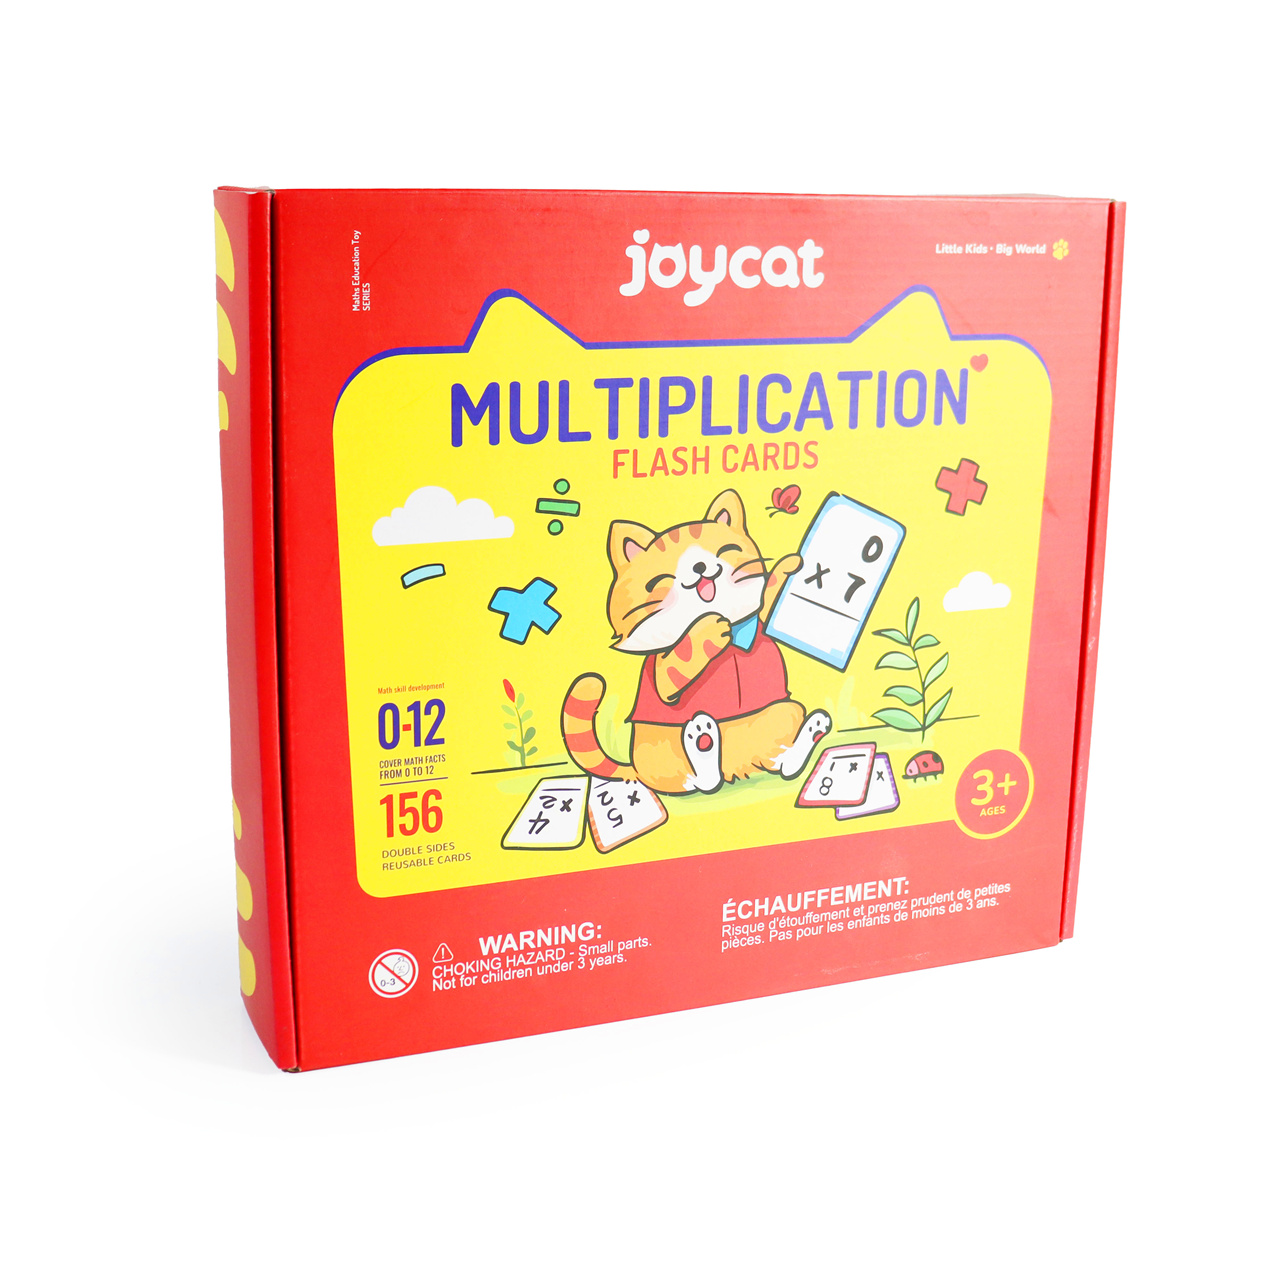 Joycat Multiplication Flash Cards Set with Accessories
 Custom Dual-Deck Playing Cards with Wolf-Themed Design
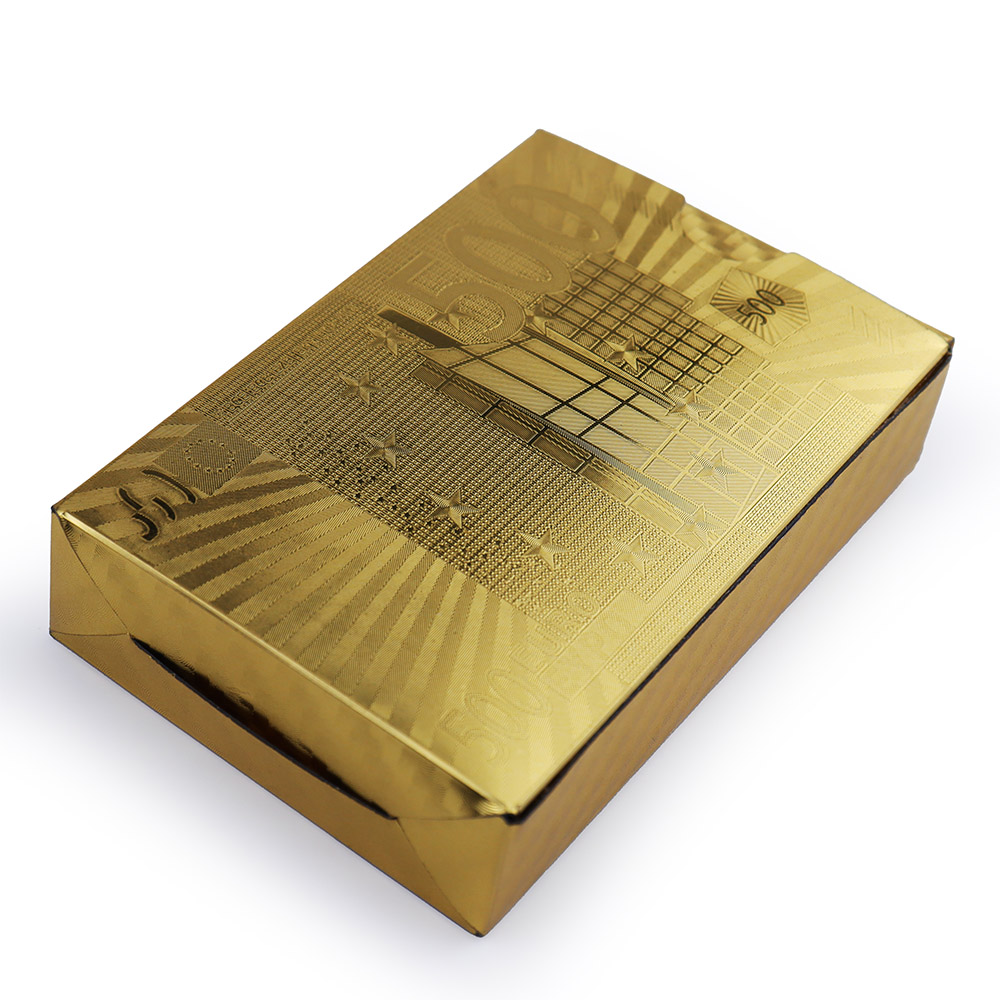
 Custom embossed gold foil playing cards
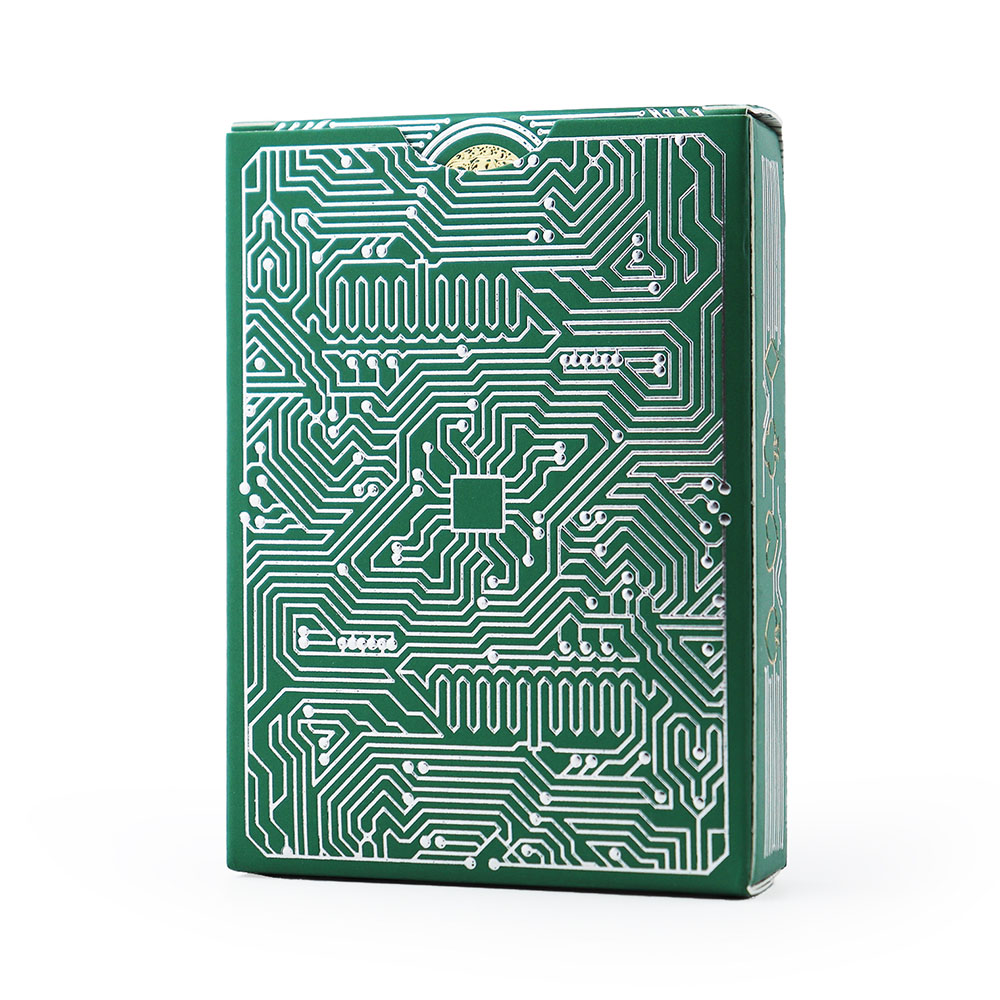 Circuit PCB Edition Custom Playing Cards
 Customized theme gold foil playing cards
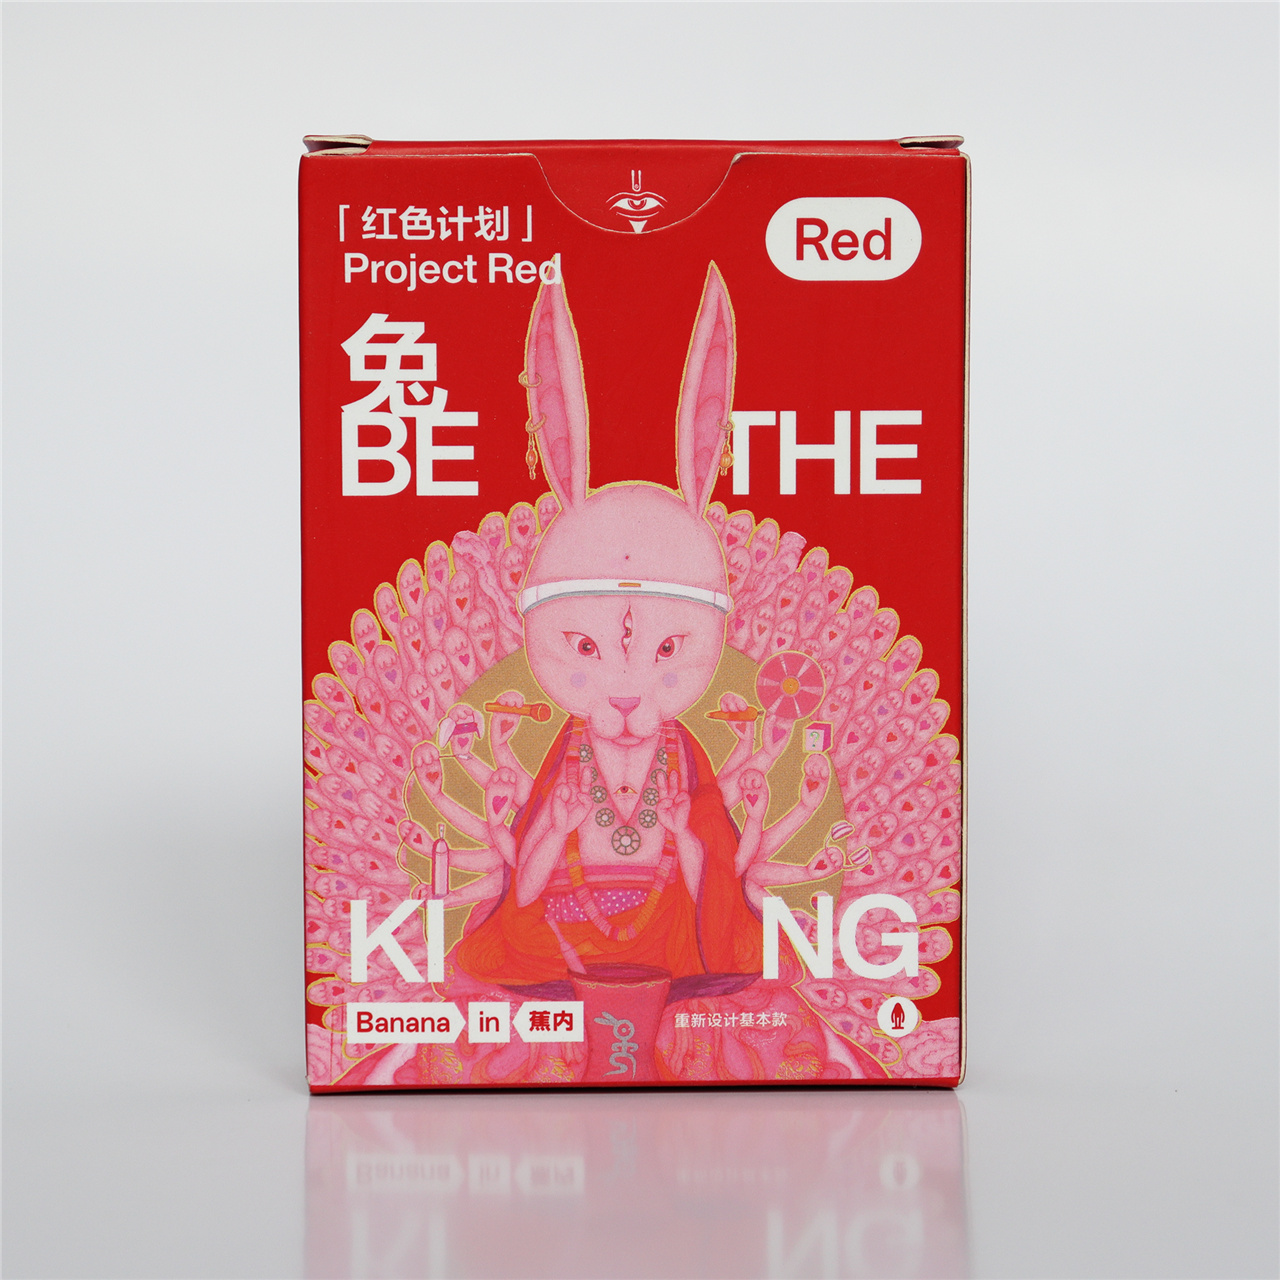 Custom Red Rabbit Themed Playing Cards Set
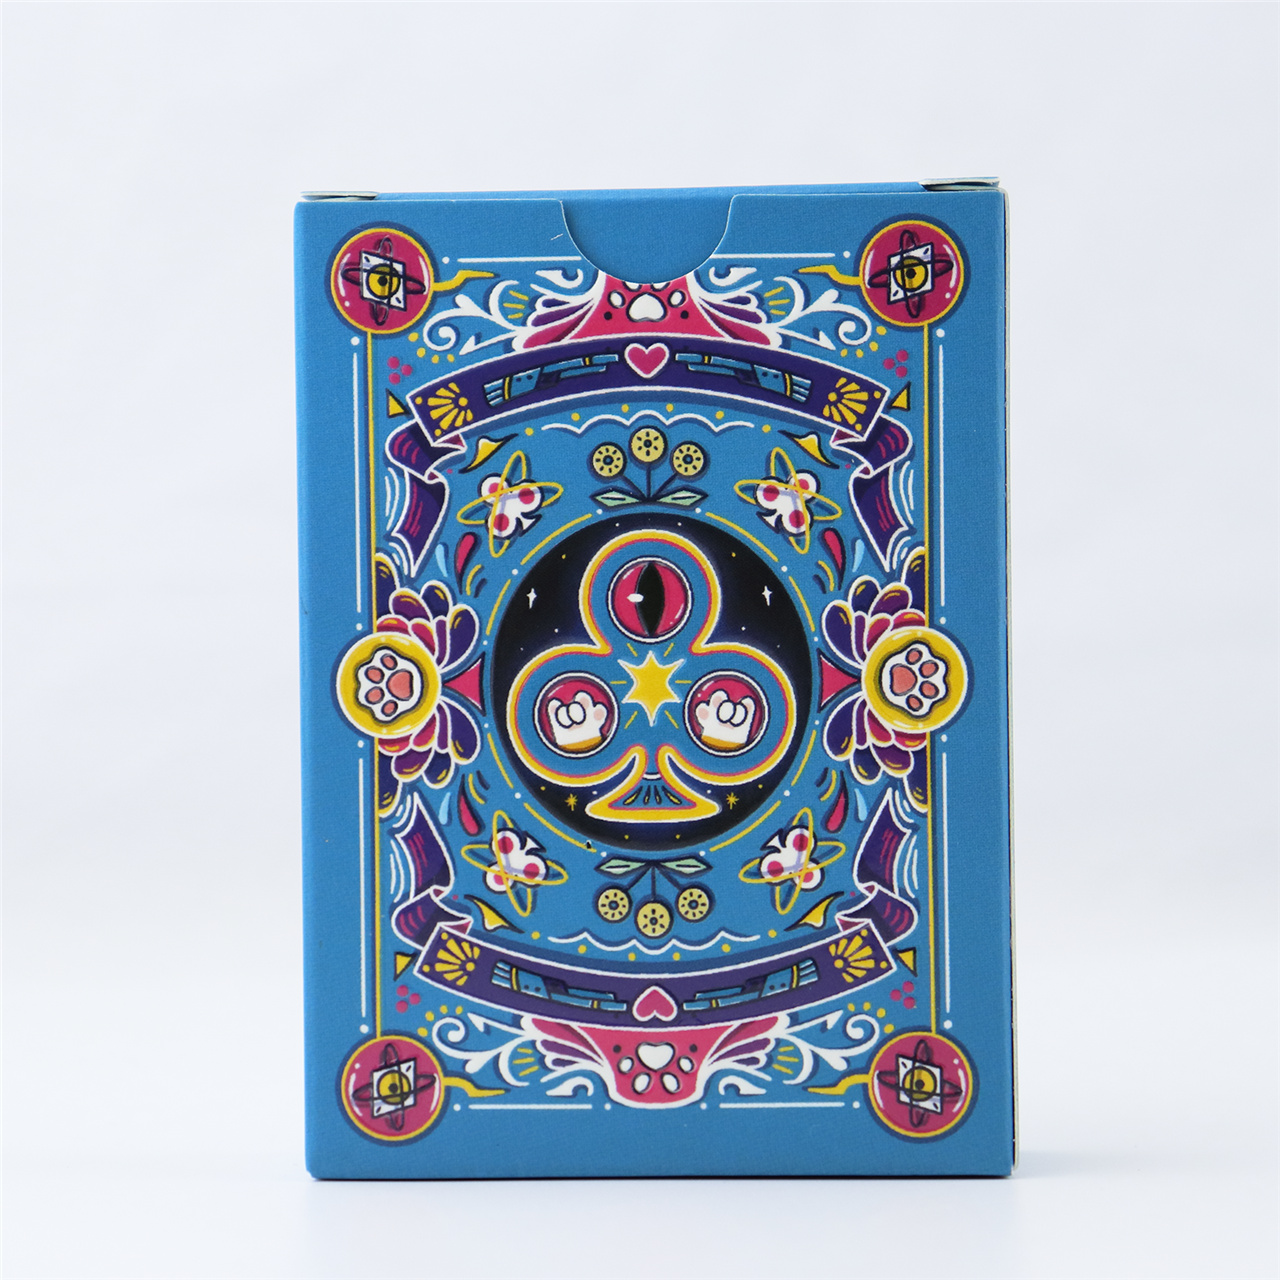 Custom Blue - Black Fantasy Plastic Playing Cards Set
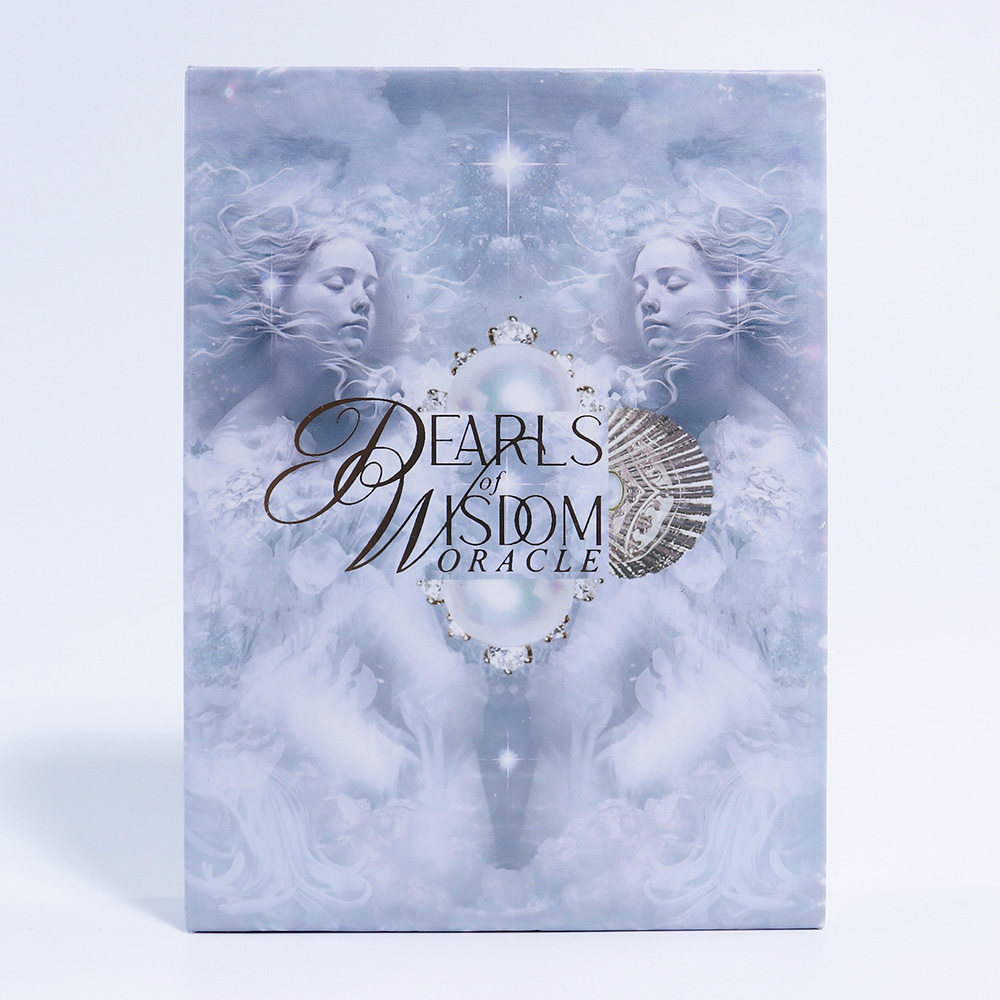 Pearls of Wisdom Oracle Custom Cards
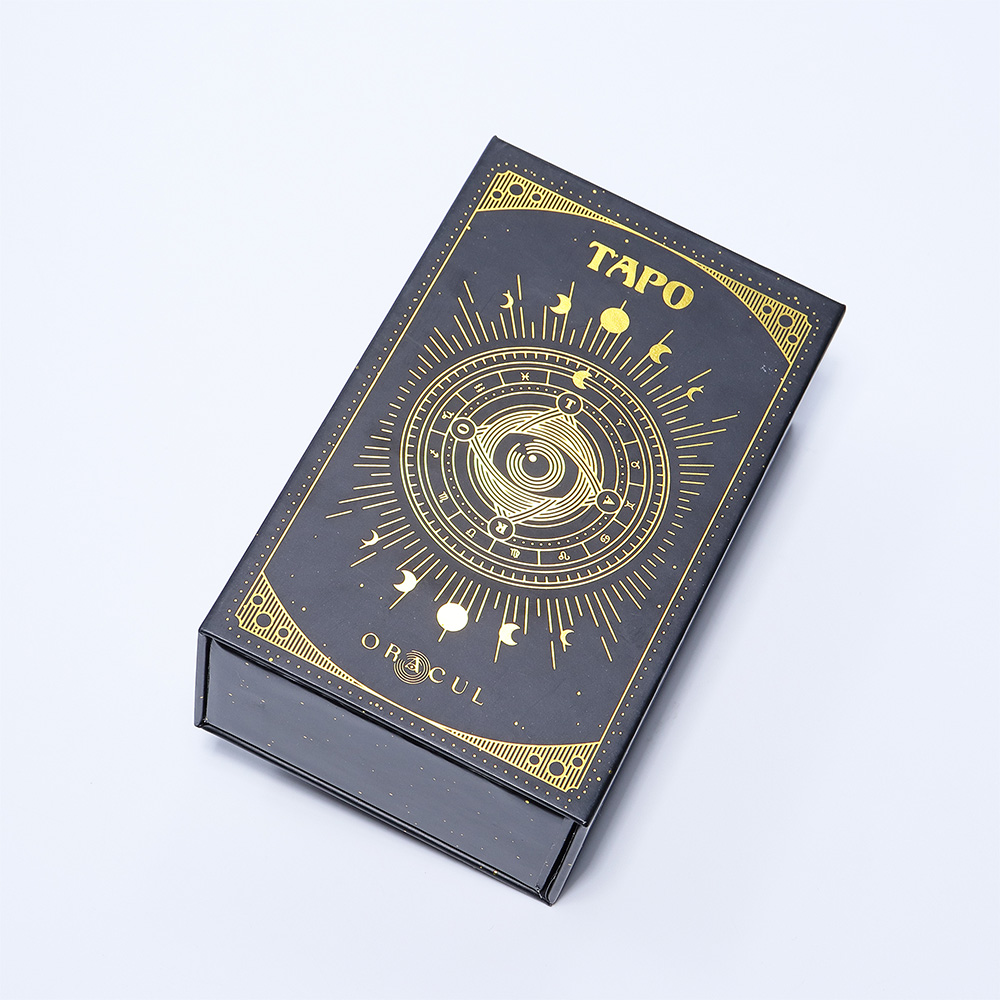 Custom Black & Gold Celestial Tarot Cards
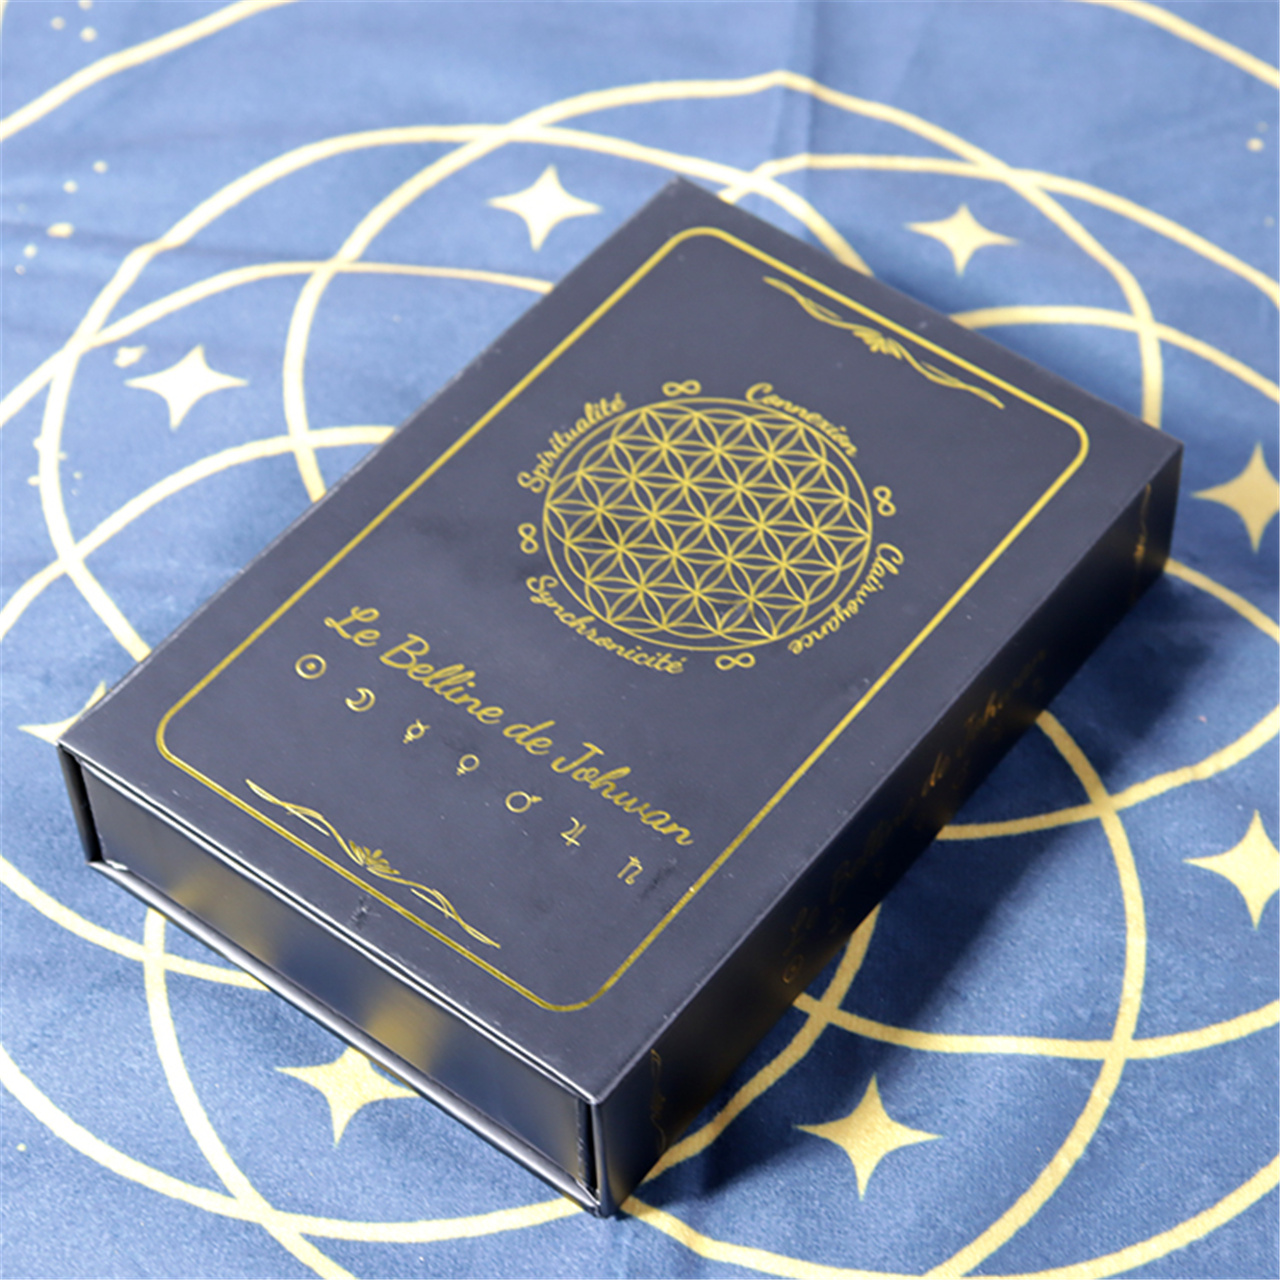
 Custom Purple Tarot Cards with Guidebook
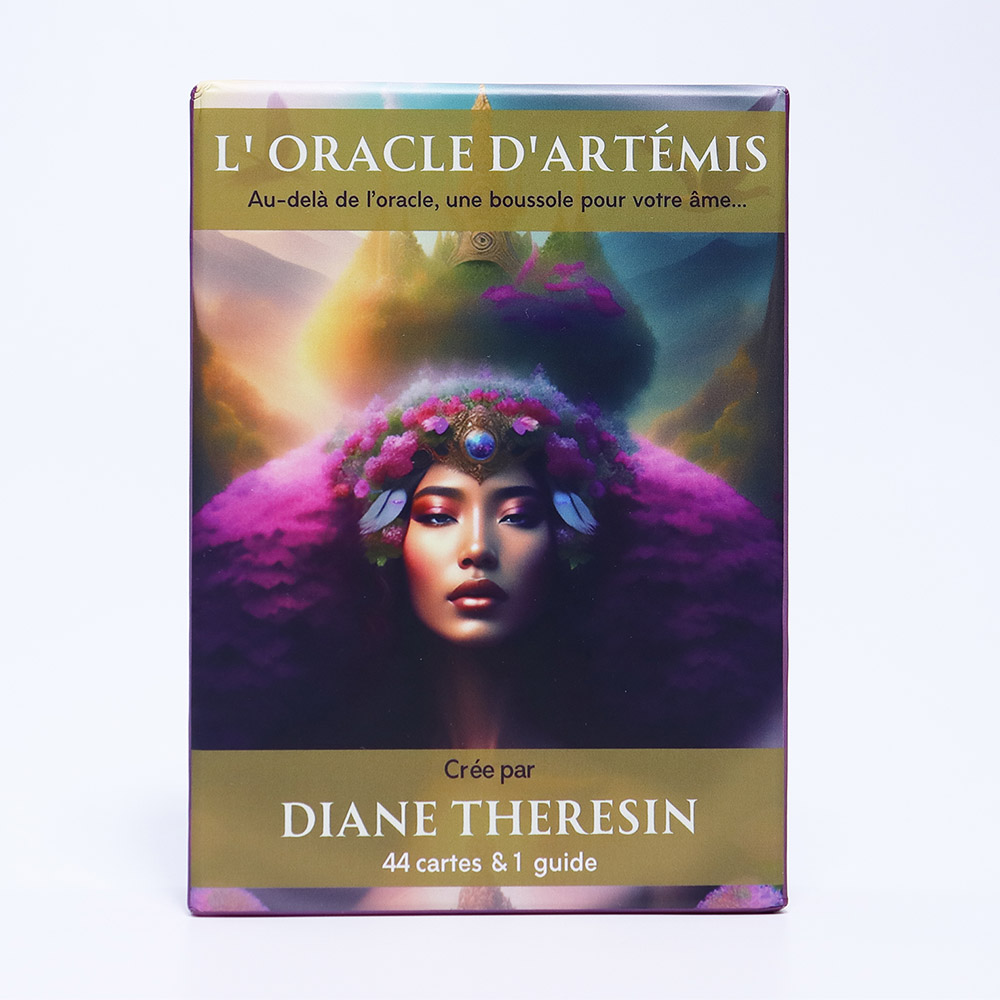 L'Oracle d'Artémis Custom Oracle Cards
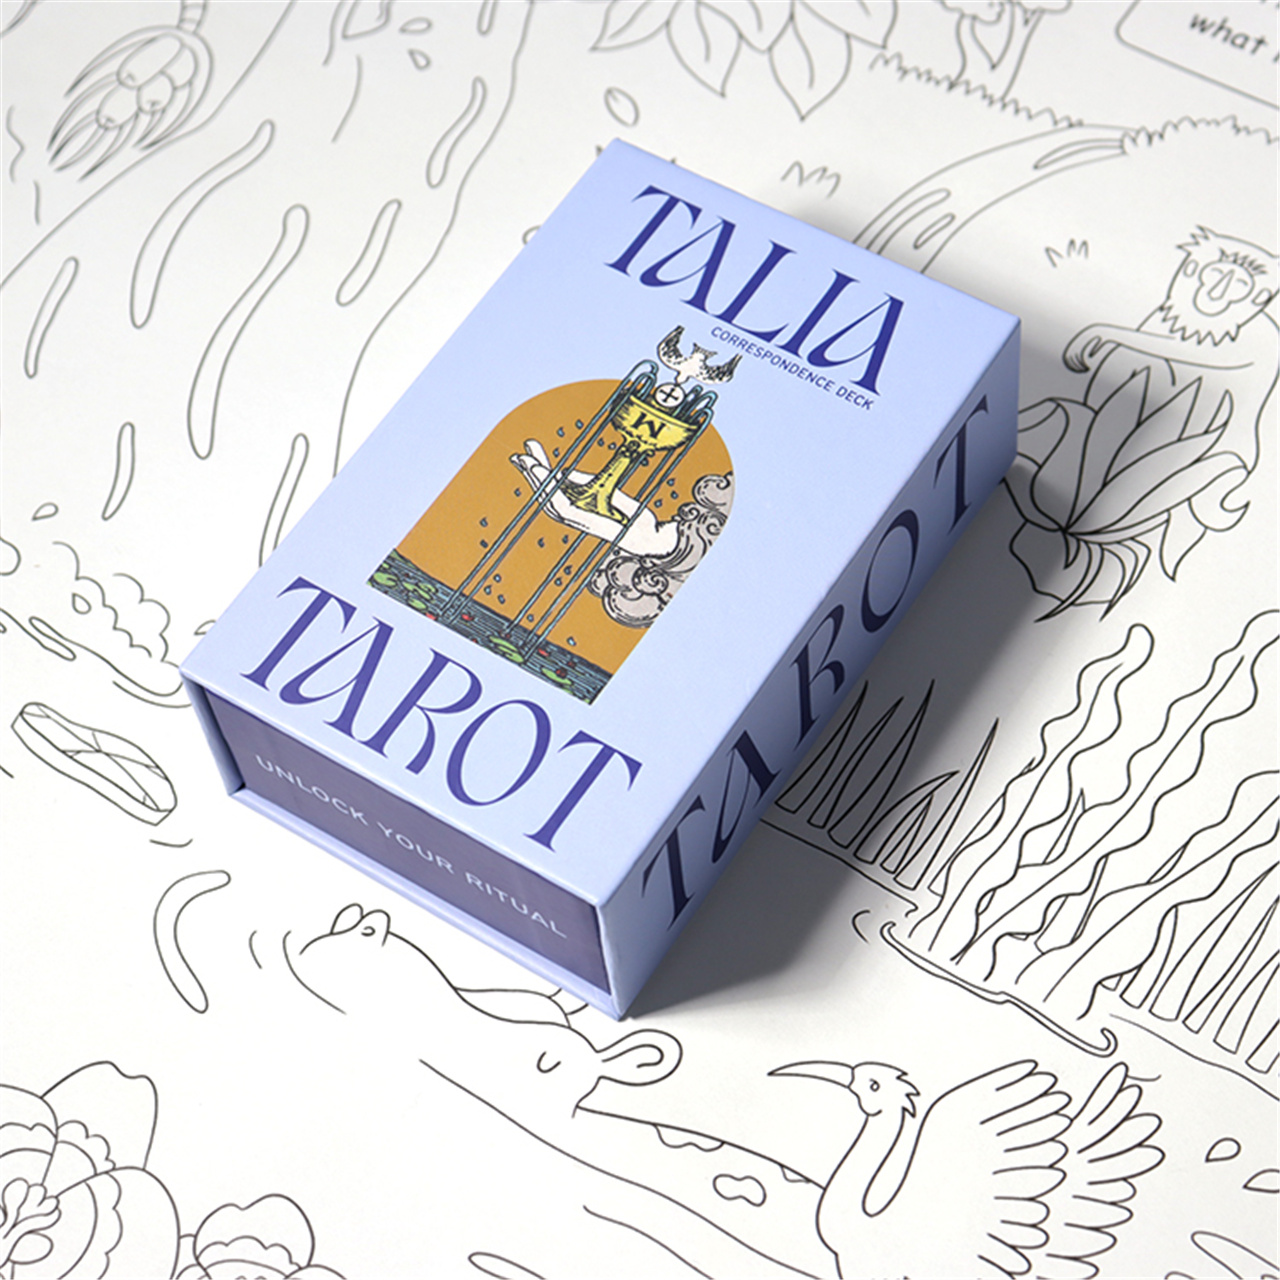 Custom Blue - Themed Tarot Cards Deck
 Custom Black - Blue Gold Foil Tarot Cards Set
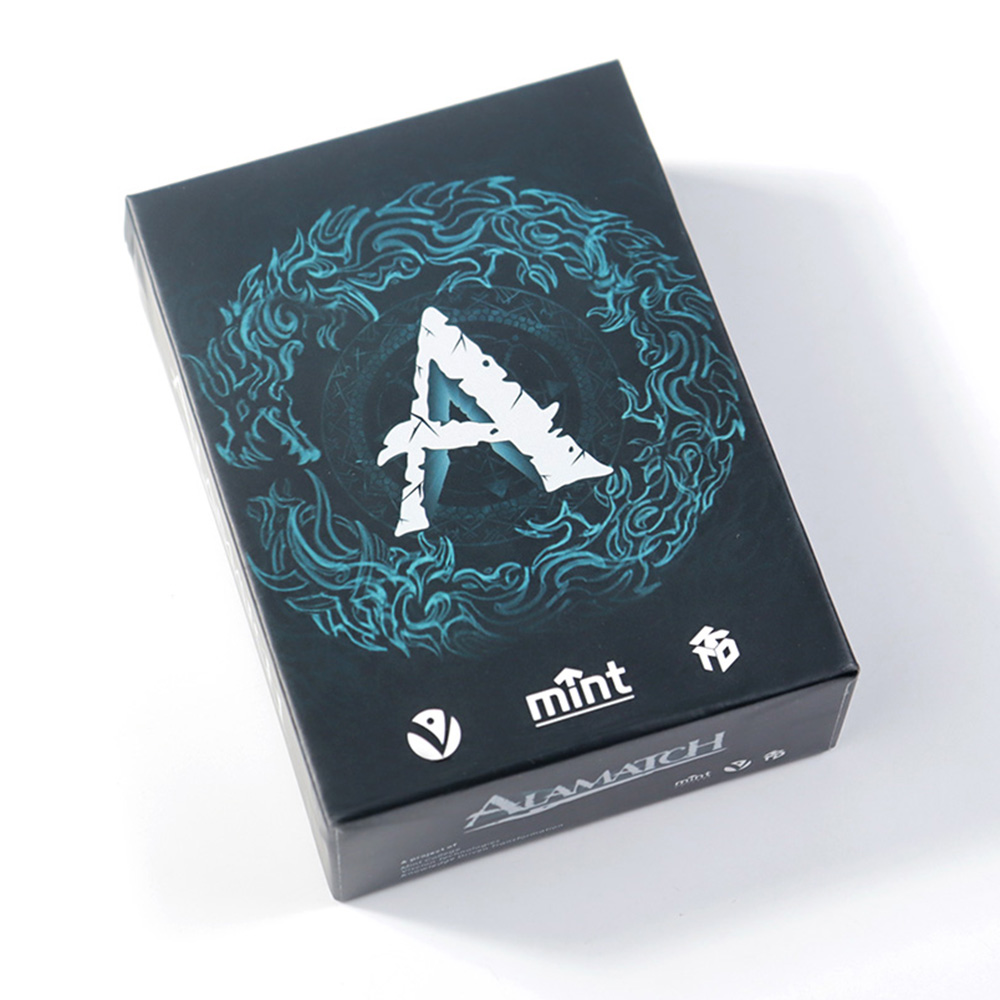 Alamatch Custom Trading Game Cards
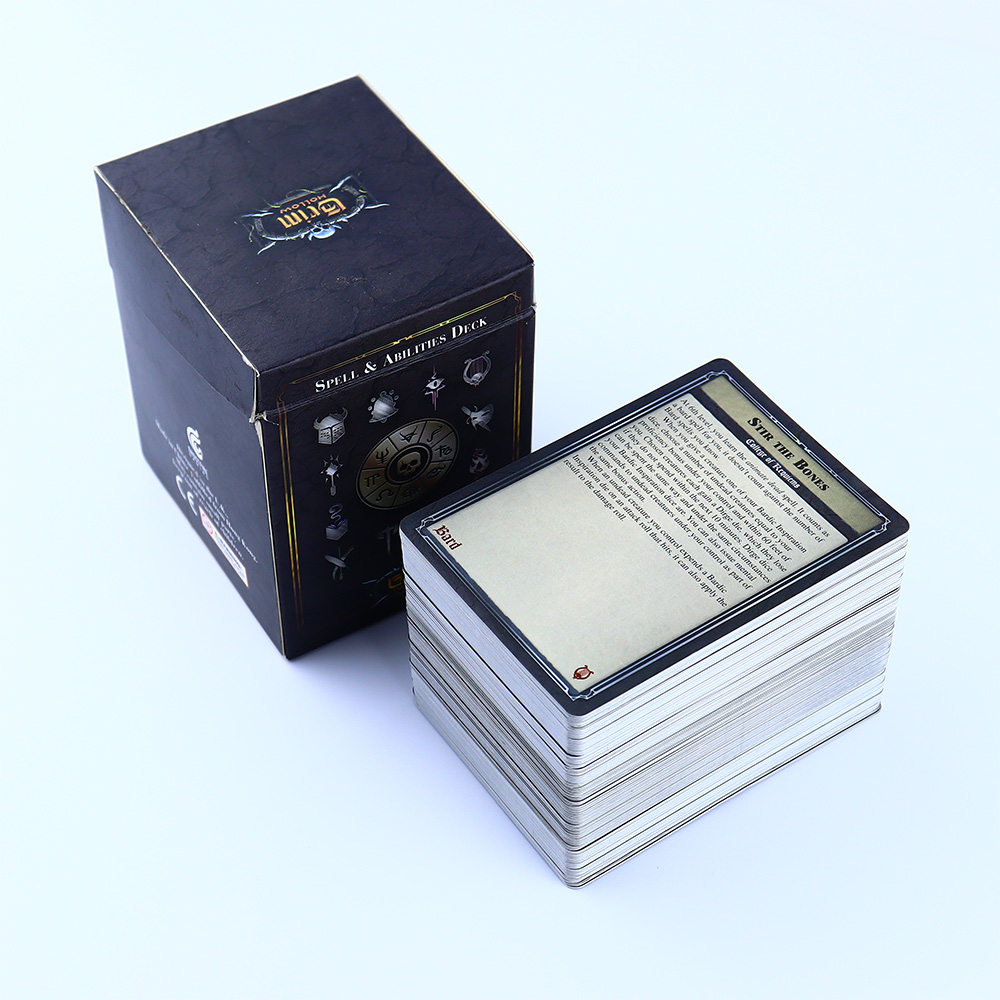 Grim Hollow Spell & Abilities Custom Trading Cards
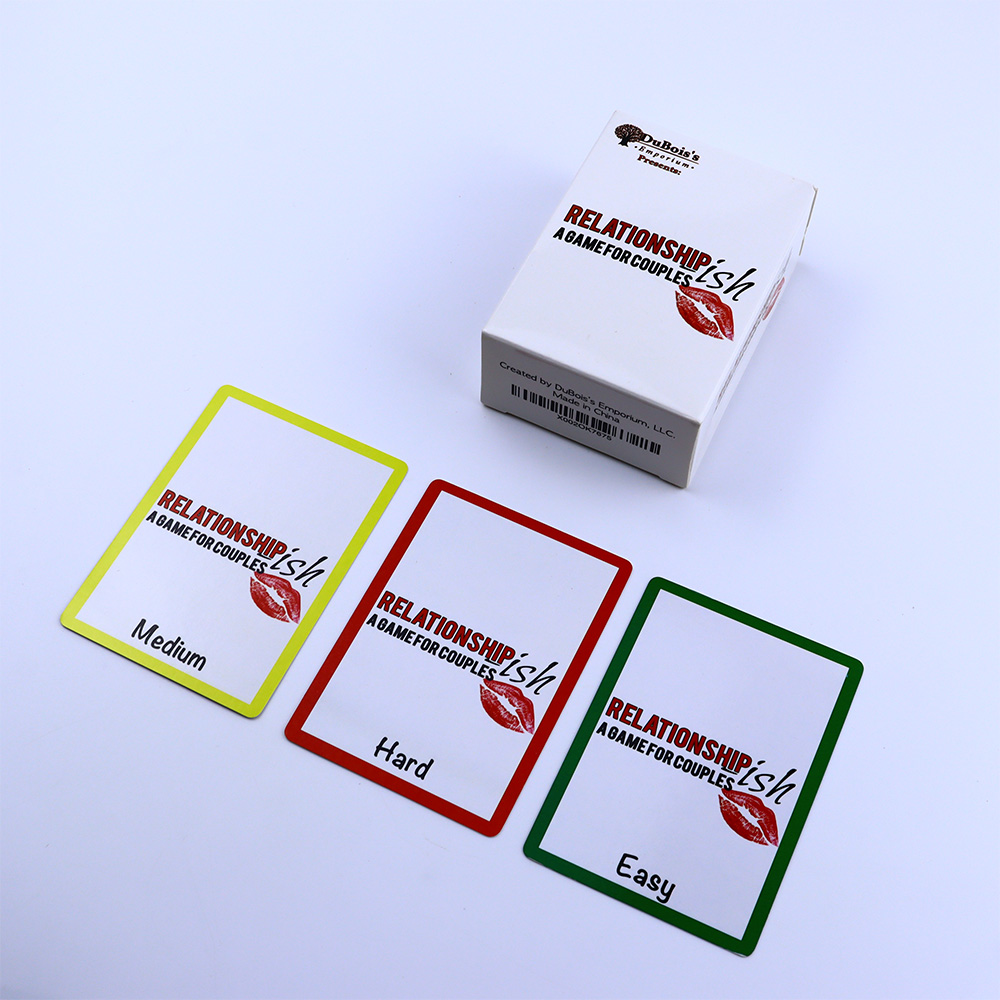 Relationshipish Custom Couple Card Game
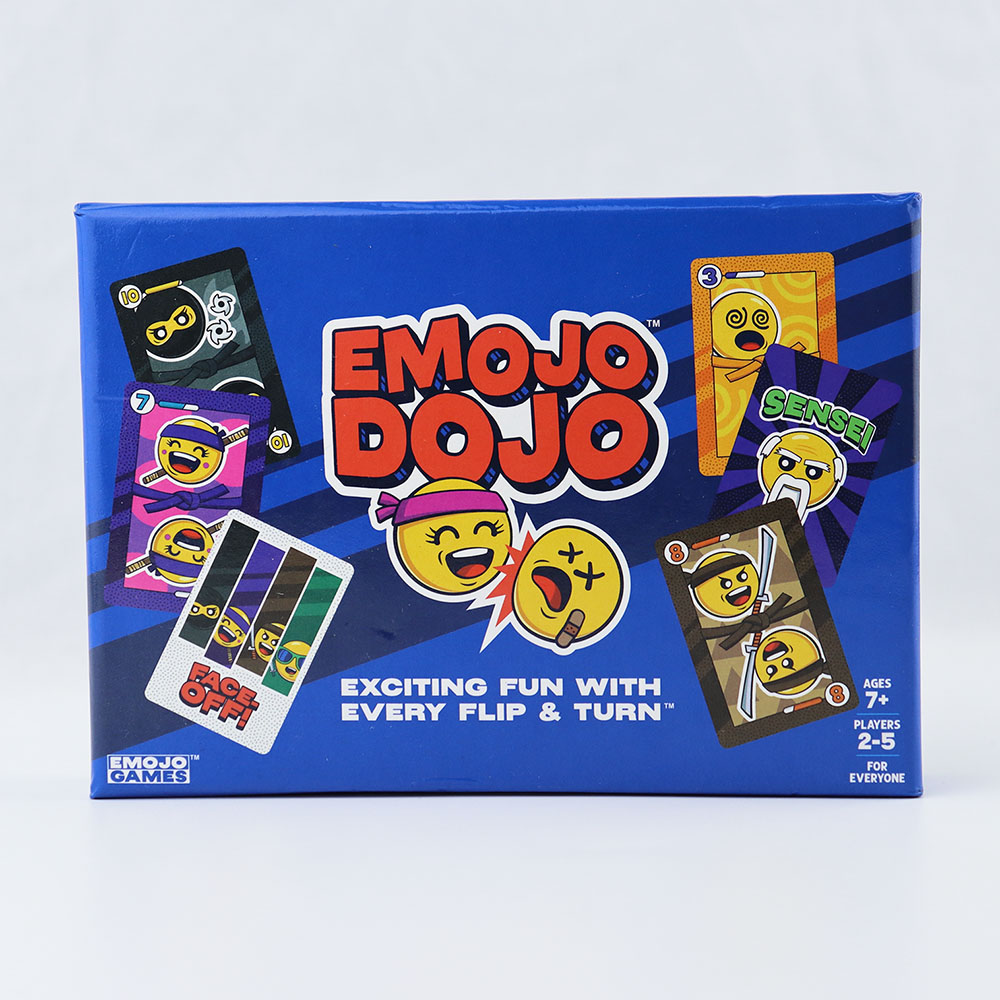 Emojo Dojo Custom Trading Card Game
 Custom Travel Photo Trading Cards Set
 Custom Cartoon Holographic Trading Cards Set